2.1 Lesson - Low-Light Photography
Brief:
You are required to take and edit a low-light image.
It can be a product photo, a still life, or a portrait. Use the unique characteristics of low light to take a photo with drama and impact.
I hadn’t learned to read my light meter at this point (I thought about it after and watched a video about it), and it would have made this take one hundred times easier. However, I got through the shoot eventually. Although I’m not completely satisfied with my shot, part of my is still happy with it.
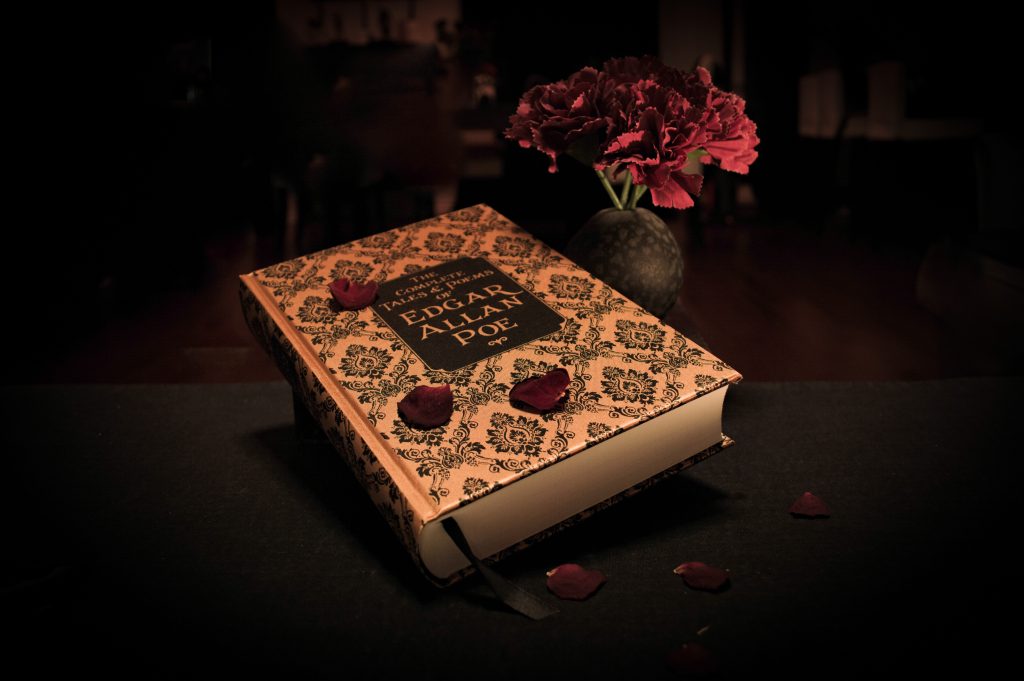
I chose to shoot a still life photo – very simple with just a couple of objects on a black table cloth, but I really wanted the focus to be on the book here. I used two light set up for this – very low ambient lighting within the room (above the scene and far in the background) and a single lit candle to the right of my scene.
Camera Settings:
4 sec f/3,8 ISO 100 Manual
2.2 Lesson - Painting With Light
Brief:
You are required to take and edit a PWL image.
Use the unique look and feel of PWL photography to make a photo that shows at least two different PWL techniques.
You can create a product photo, a still life, or a portrait.
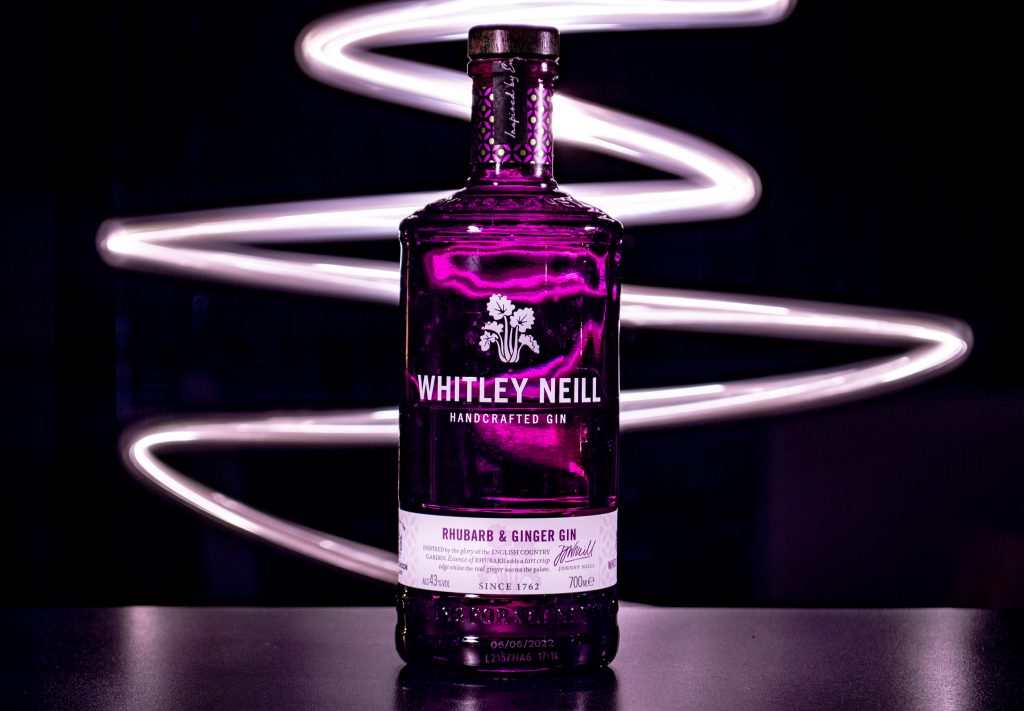
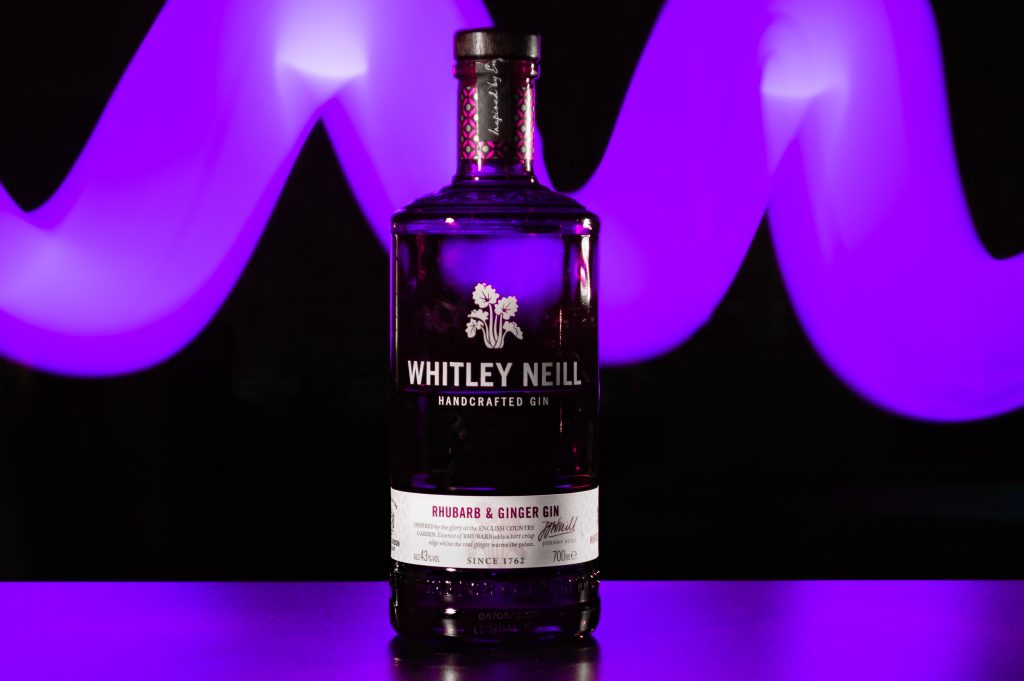
For this task, I created a product photo. I honestly didn’t have too many cool or creative things at home to create my PWL photo – I used a flash-light and my phone screen (using a colour app). It was challenging to transfer the ideas from my head and into the shoot and to combine them together within such a small space behind the product, so I ended up doing two separate photos with my two light sources.
I used a flash light in the first PWL image and my phone screen in the second. I also used my flashlight to illuminate the front of the bottle.
Camera Settings:
Image 1: 15 sec f/5,6 ISO 100 Manual
Image 2: 30 sec f/5,6 ISO 100 Manual
2.3 Lesson - Intentional Camera Movement
Brief:
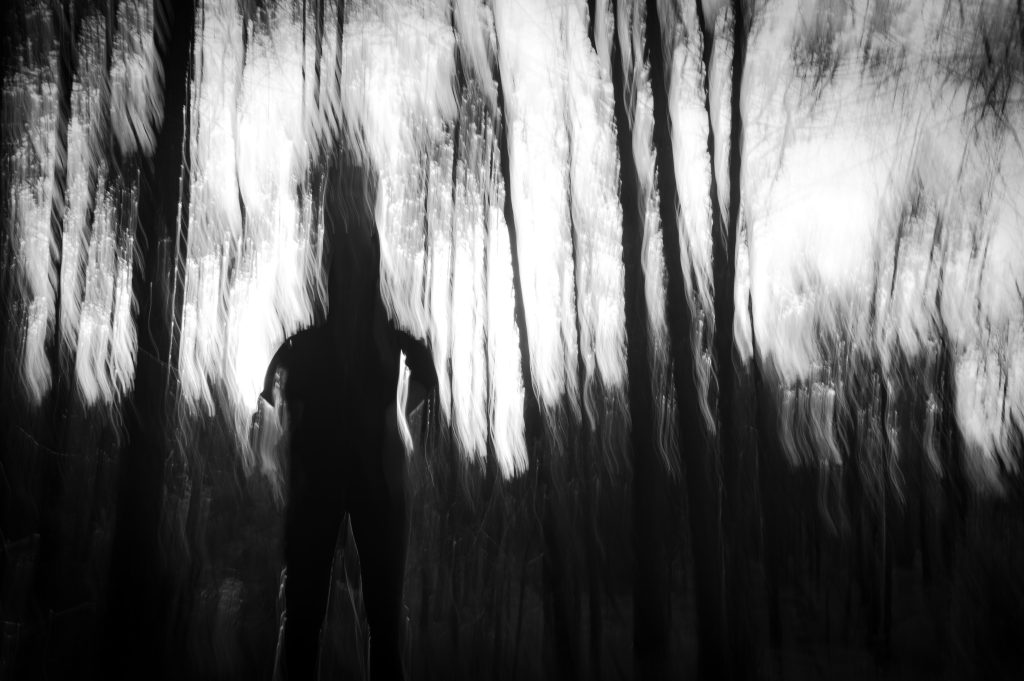
You are required to take and edit three ICM images.
Using the unique look and feel of ICM photography, you need to make a series or three artworks for a local gallery. The idea is to sell the photographs as a set.
Your photos should “read” together.
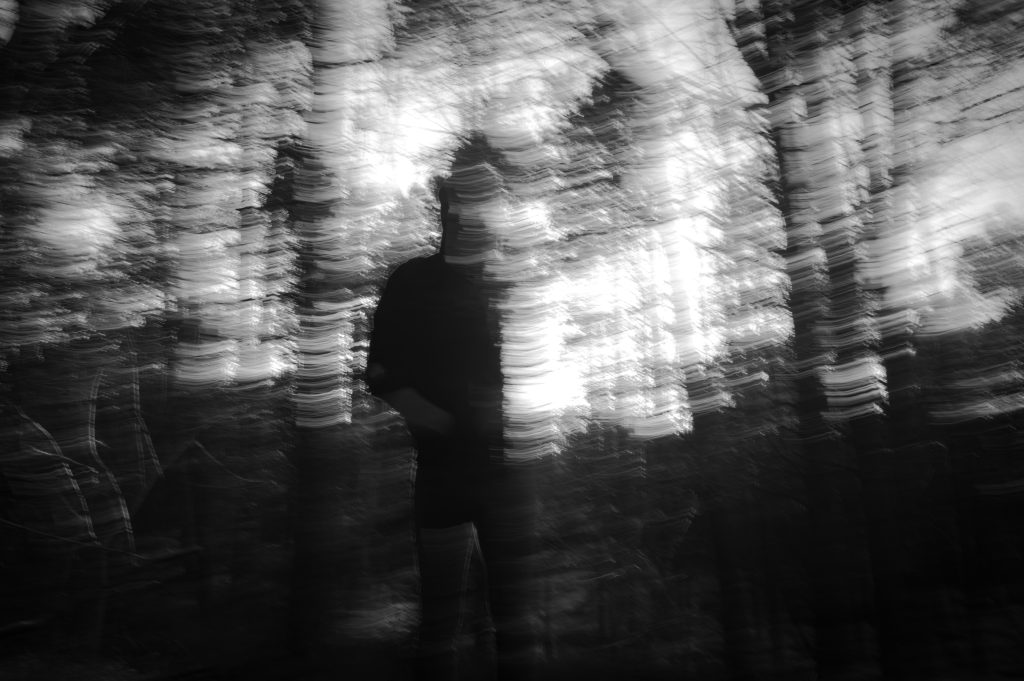
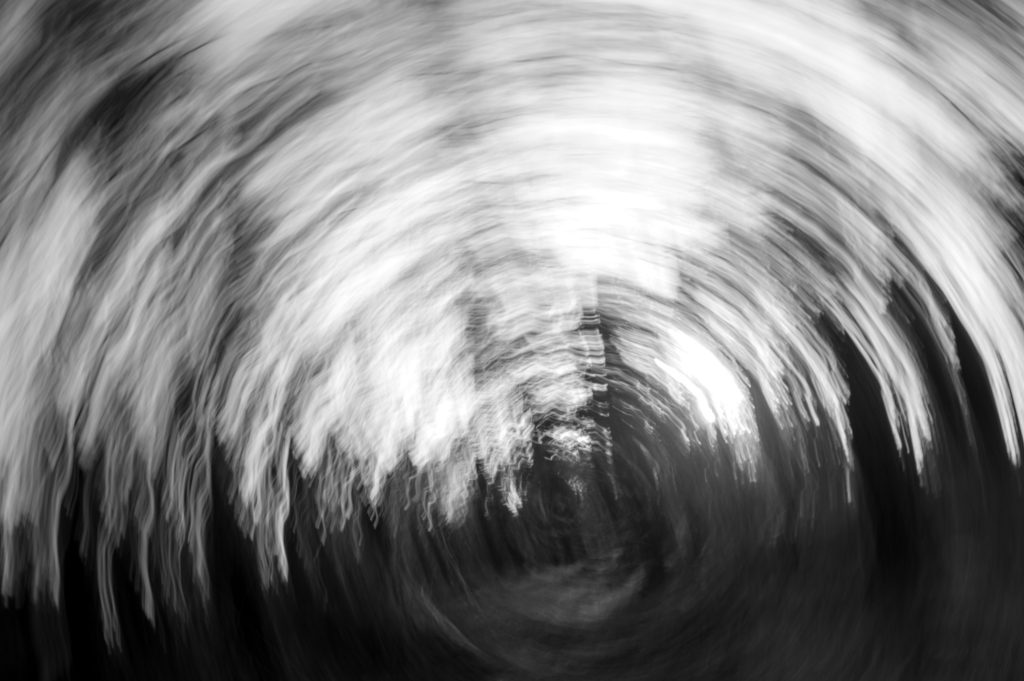
This task has been my absolute favourite out of the eight different shoots. I had so much fun doing this – I didn’t want to stop.
I did my photo shoot out in the forest (and had learnt to read my light meter by this point) – so I ended up with a ton of really great images that weren’t under or over exposed. I struggled to choose my final three.
I have also included the original shots.
Original Photos
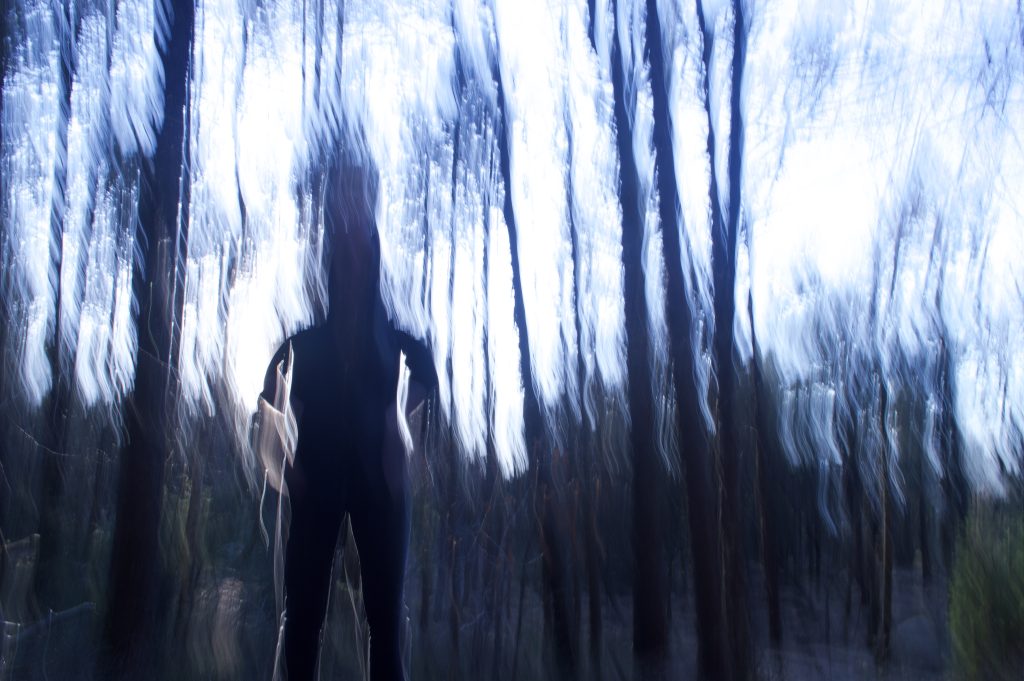
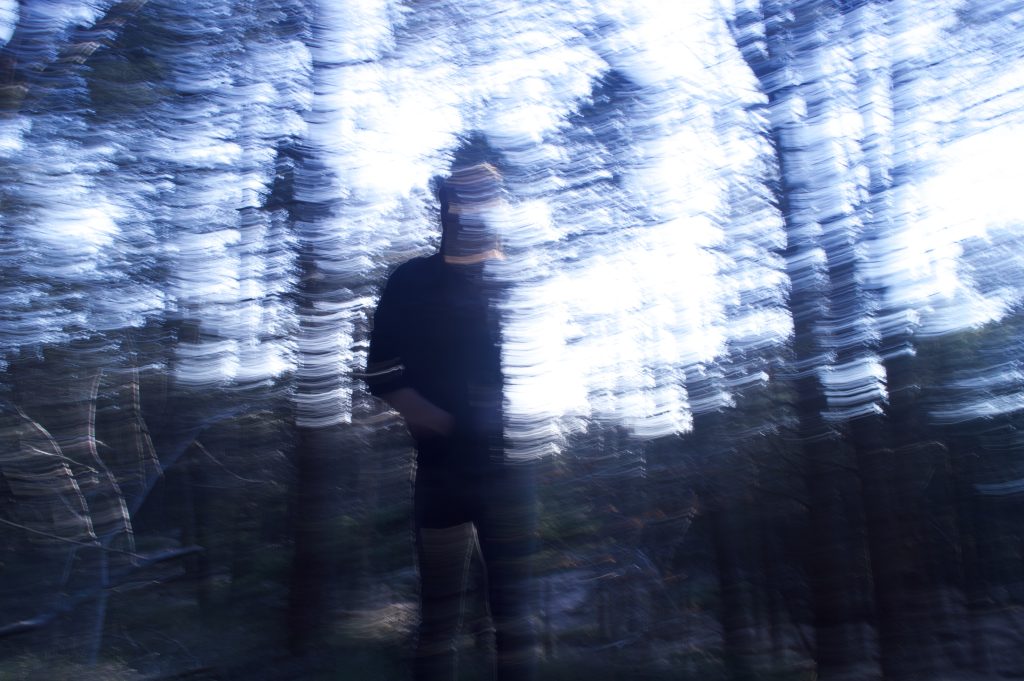
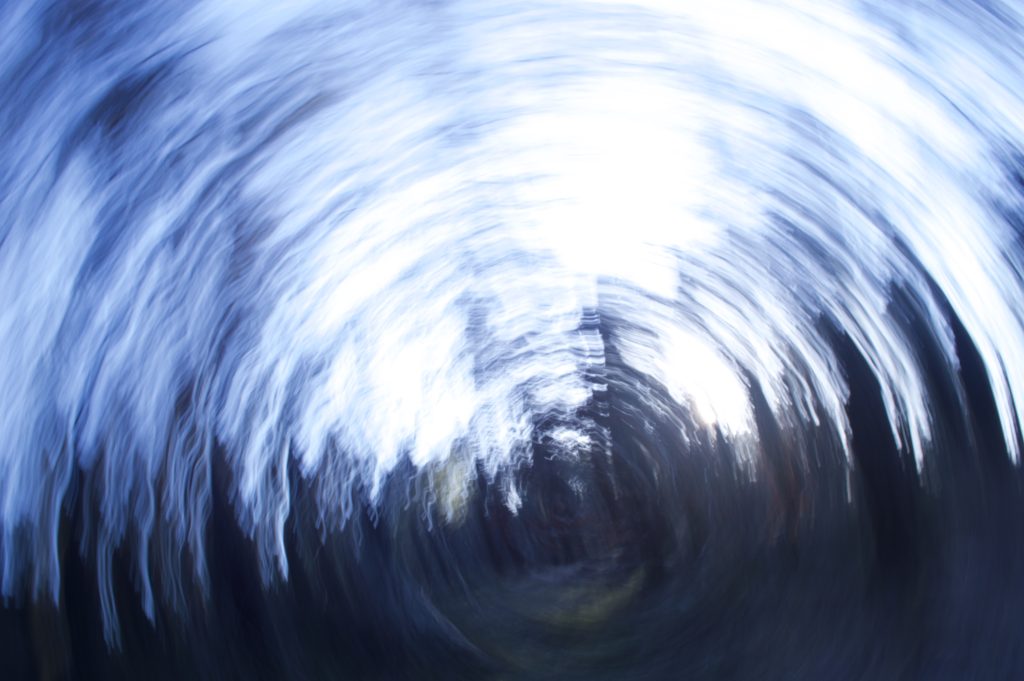
Final Set
Camera Settings:
1/1.6 f/14 ISO 100 Manual
2.4 Lesson - Double and Multiple Exposures
Brief:
You are required to take and edit three images.
You can be as abstract as you like.
Add a short artist statement for each image.
Unfortunately, my camera doesn’t have the option for in-camera multiple exposures, so all of my images were created using single shots and then combined together in Photoshop. This was a really fun task in terms of editing.
Photo 1: Double Exposure
Everything lives. Everything dies. I am fascinated by the contrast between life and death. People say that life is beautiful, so why not death?
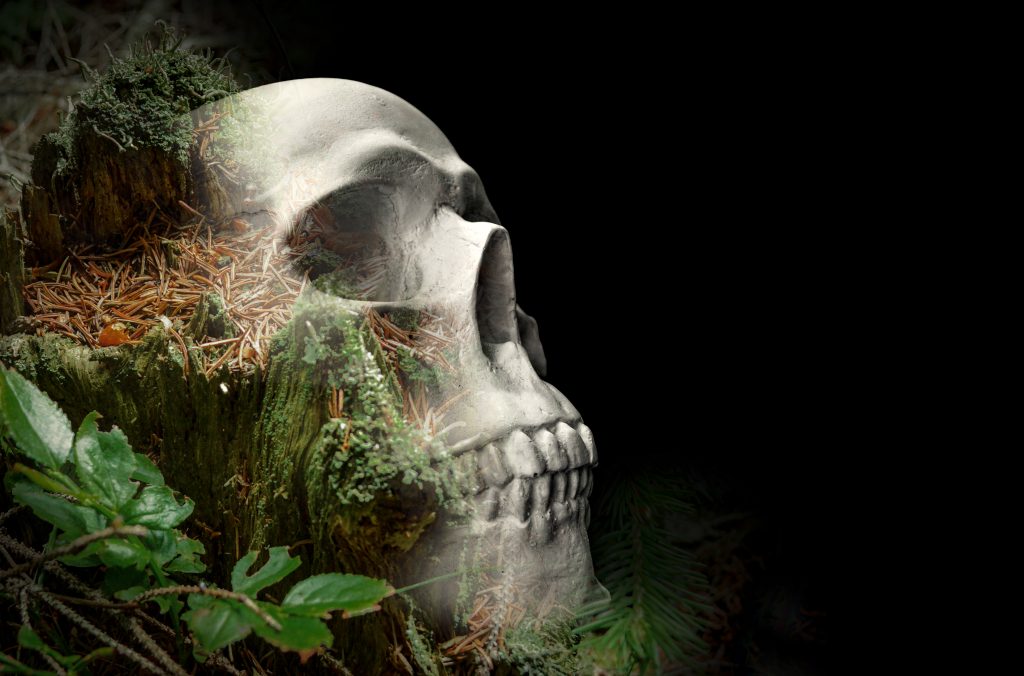
Photo 2: Multiple Exposure
“Flowers brighten up any room” – this was not my intention for this photograph. A sense of coldness and loneliness lies within – can you feel it?
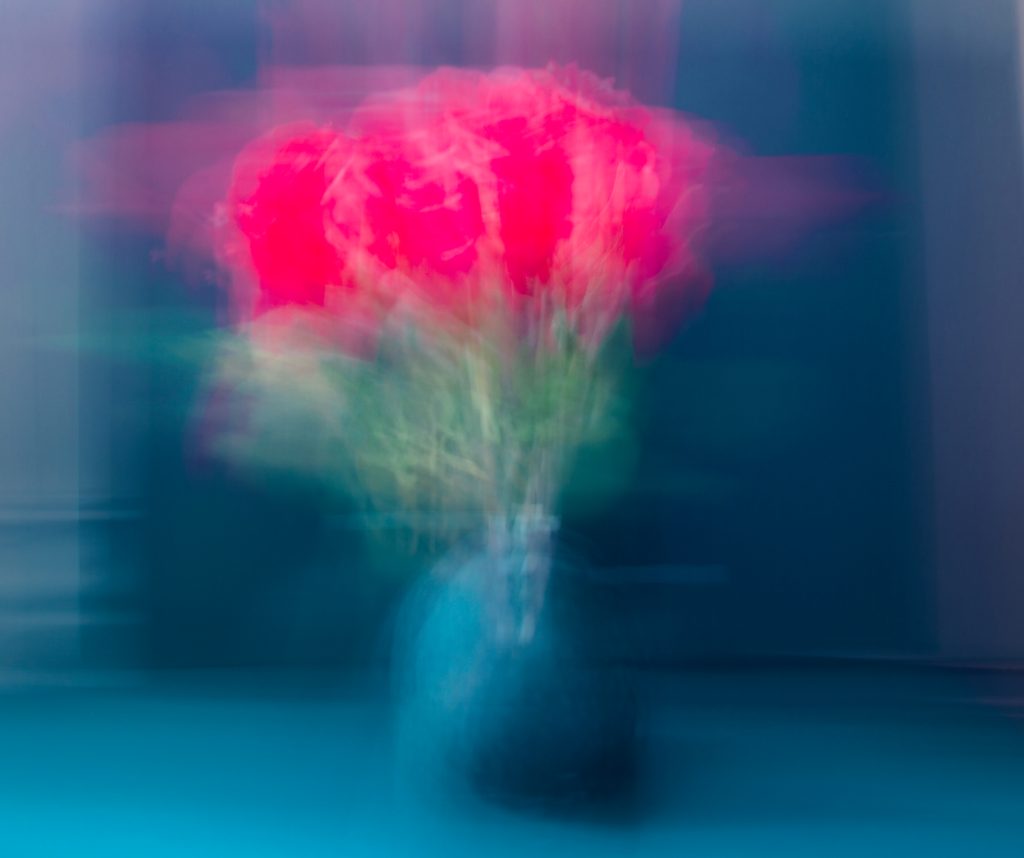
Photo 3: Mirror Montage
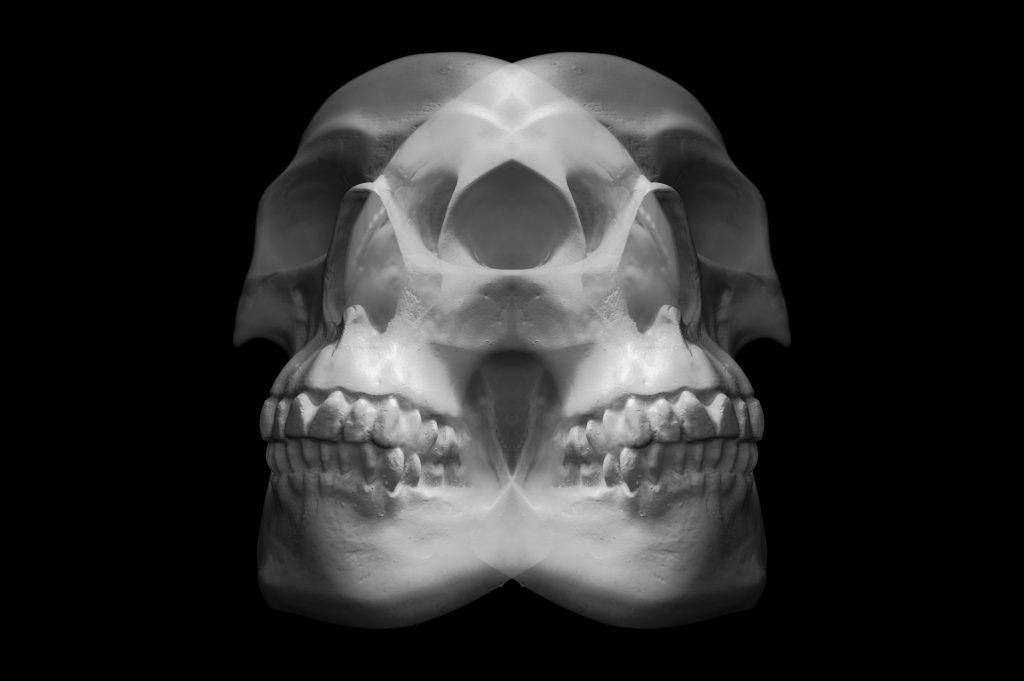
This image is not about what you see, but about what you feel. This was supposed to be an experimental piece, but it began to evoke feelings. I’m not sure if those feelings are positive or negative, but still, an emotion is there. What do you feel?
