HTML BASICS
1.1 Lesson - Hosting & File Management
Part 1
Brief: Since you will create your own website using HTML and CSS in this course, you will need to acquire your own hosting service. You are free to choose any hosting service. Consider your domain name very carefully.
Since I already have an account with a hosting service (one.com) that I acquired as part of a mandatory task last year, I didn’t need to do anything for this part of the lesson. I have, however, provided a screen shot below as evidence of my account for the purpose of this task.

Part 2
Brief: The Norwegian Seafood Council wants to promote the health benefits of Norwegian Salmon to the local and international market. You need to create an informative website for this purpose.
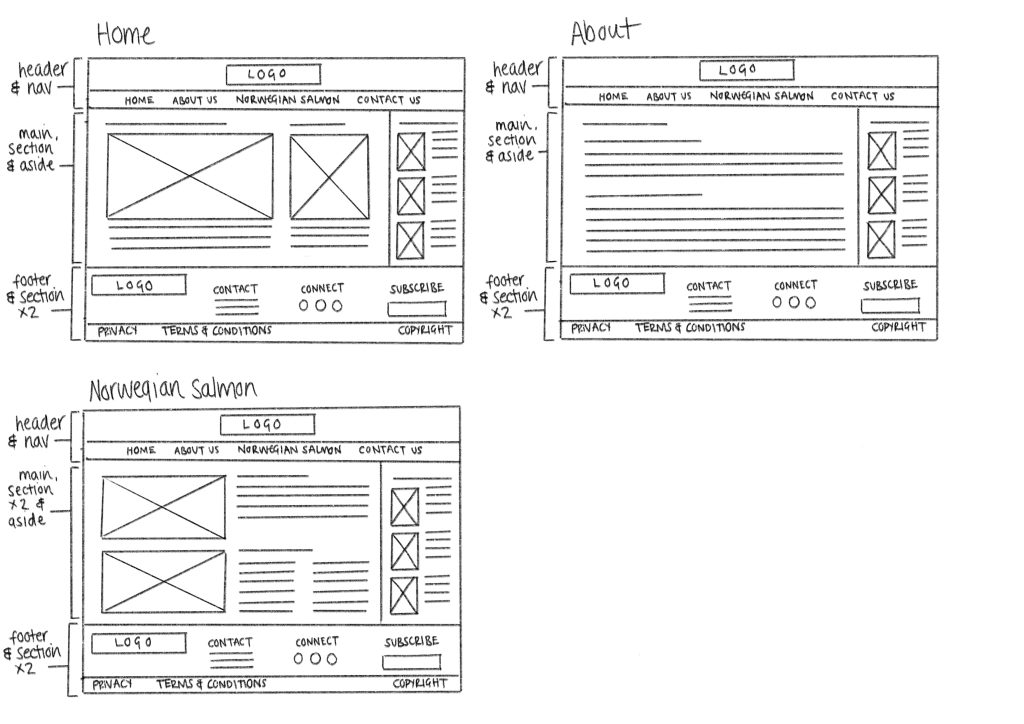
Create very basic wireframes for the website, showing at least three pages. These can be low tech wireframes that show planning for the page structure and navigation.
I have created low tech wireframes for three pages: “Home”, “About”, and “Norwegian Salmon”. The navigation includes “Contact”, but I have decided that this will link to contact information contained within the footer of the webpage.
Part 3
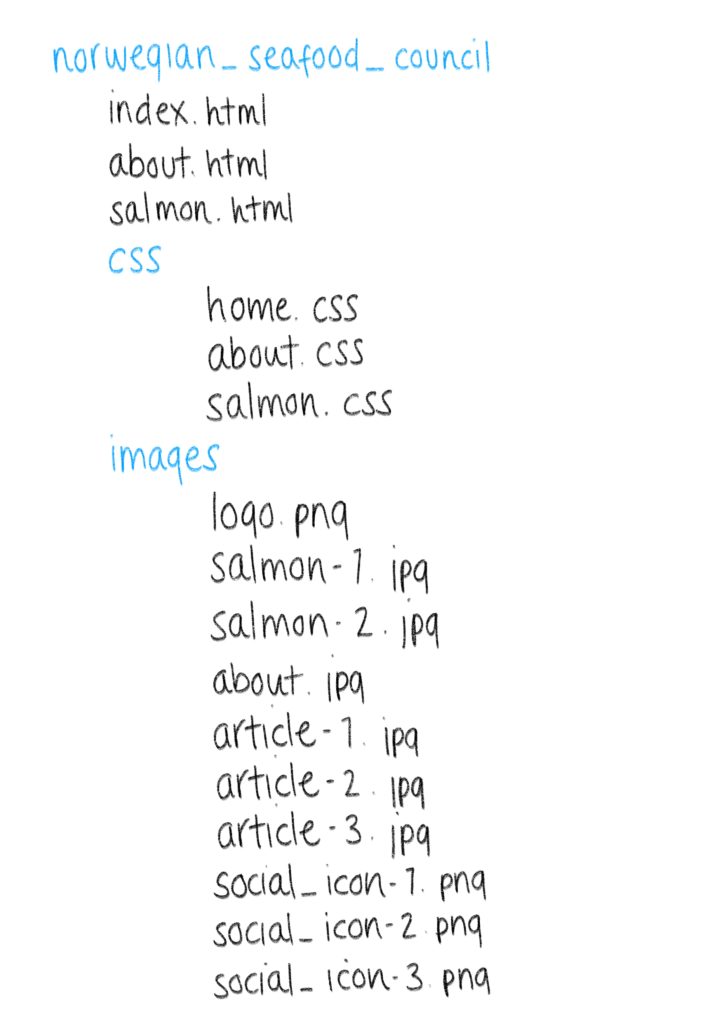
Brief: Create the first structure for the HTML files and folders of the webpage. Think about the root folder and name the folders correctly. Firstly, sketch out what the structure will look like, then set these up so that you are ready to code your website.
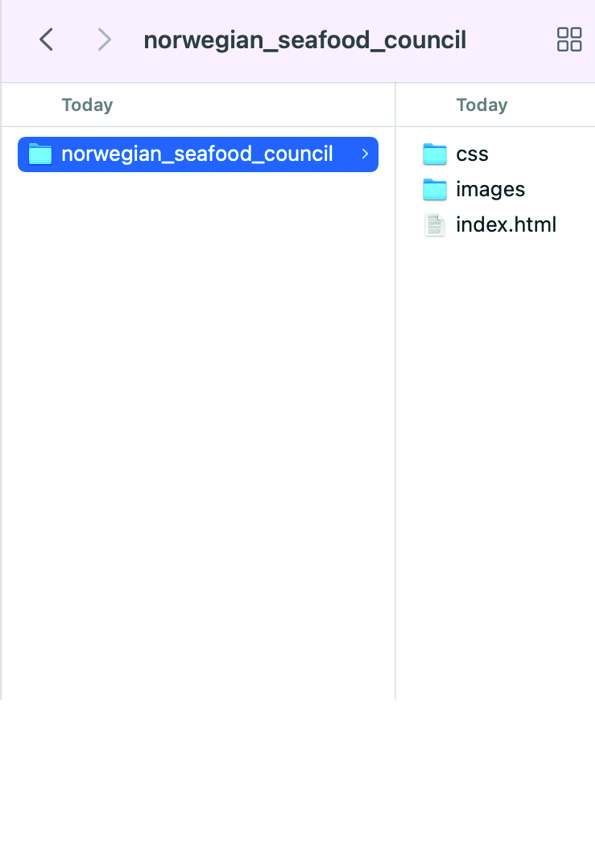
Below you can see the sketched out plan for my file structure, followed by the actual file structure on my computer after creating the “index.html” file. This is just a basic starting structure for now until more files are added.
1.2 Lesson - HTML Basics
For this lesson task, you need to create a basic HTML structure.
Part 1
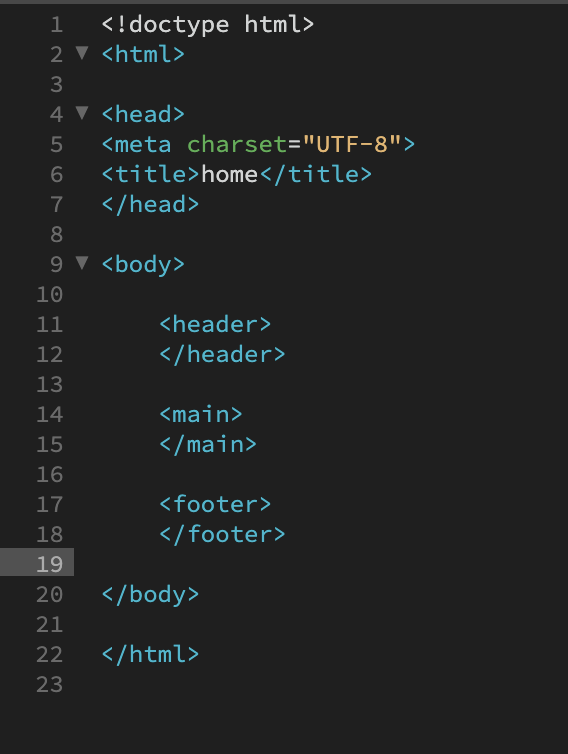
Brief: In Adobe Dreamweaver, open up the index.html file you created in the previous lesson task. Now, start adding some tags. You don’t need to add any information between the opening and closing tags for now, just focus on the different tags that will make up the structure of the webpage. Your HTML file should have the following content:
- <!doctype html>
- <html>, <head>, and <body> elements
- Page title
- <header>, <main>, and <footer> elements
Part 2
Brief: You have created an HTML document with the following content:
- <!doctype html>
- <html>
- <head>
- <title>
- <body>
- <header>
- <main>
- <footer>
Describe the function and meaning of each element, and where applicable, state in which parent folder you are expected to find the element.
<!doctype html>
Declares which version of HTML the document is written in. This element sits at the very top of the HTML file.
<html>
Declares the document type in order for an HTML client to interpret the document as an HTML file. This element’s opening tag the second line of the HTML file, while its closing tag is the very last line. The html element acts as a parent for the head and body elements.
<head>
Contains metadata about the webpage and gives instructions for browsers and computers to read about how to display the content and information about the data on the page. This element sits between the opening html tag and the opening body tag. It is a child to the html element and a parent to any element that sits between its opening and closing tags, such as the title element.
<title>
Sets the title of the page that is shown in a browser’s title bar or a page’s tab. The head element is a parent to this element.
<body>
Shows everything that will be visible on the webpage. The body element is a parent to the header, main, and footer elements.
<header>
A strip that runs across the width of the page, often holding the navigation element, logo, heading, and/or header image. The header element is a child of the body element.
<main>
Holds the main content of the webpage, which could include text, images, videos, etc. This element is also a child of the body element.
<footer>
Sits at the very bottom of a webpage, indicating the end of the page, and contains information such as authorship, contact details, social media links, quick links, and copyright information. The footer element is another child of the body element.
1.3 Lesson - Semantic HTML
For this Lesson Task, you’ll be working on the same HTML document you created in the previous lesson.
Part 1
Brief: The following elements should now be added to the HTML document:
- <meta> element with some metadata – charset, description, keywords, author, viewport.
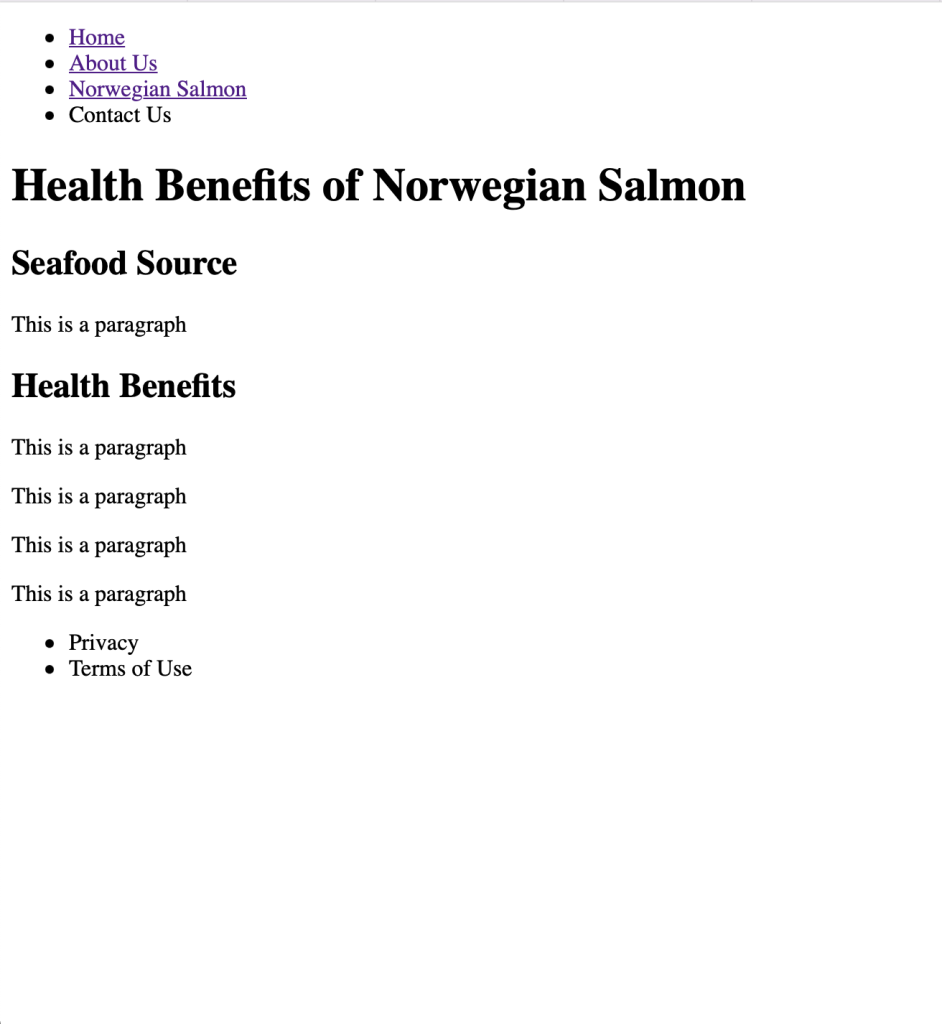
- Create a <ul> with <li> elements that will later form the navigation menu.
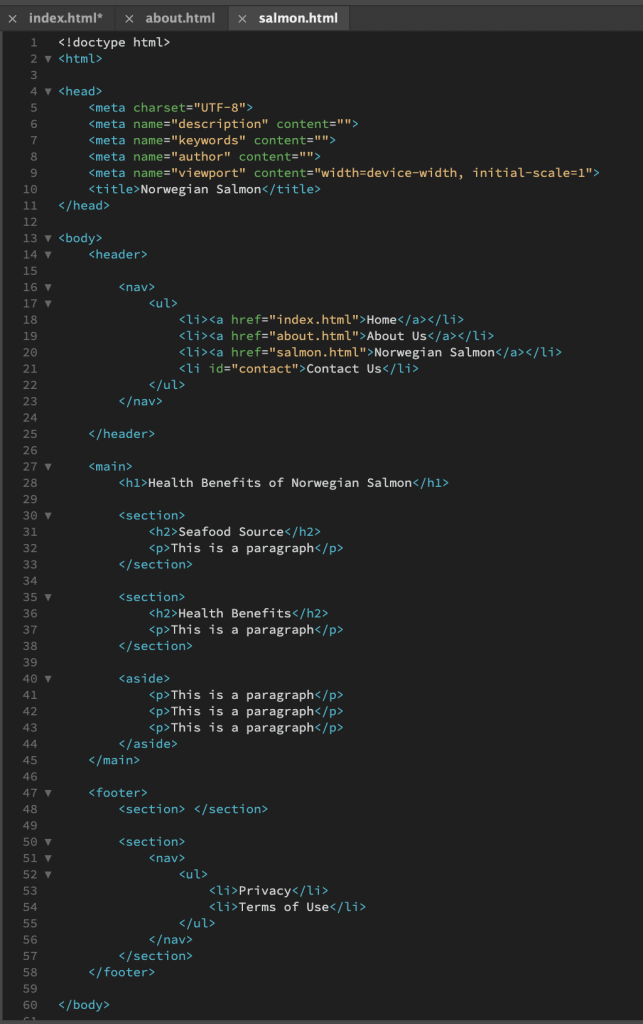
- Create at least two sections in the content using either <section>, <article>, or <aside> elements that will hold the main content.
- Create at least one <h1> element and one <h2> element.
- Create at least four <p> elements.
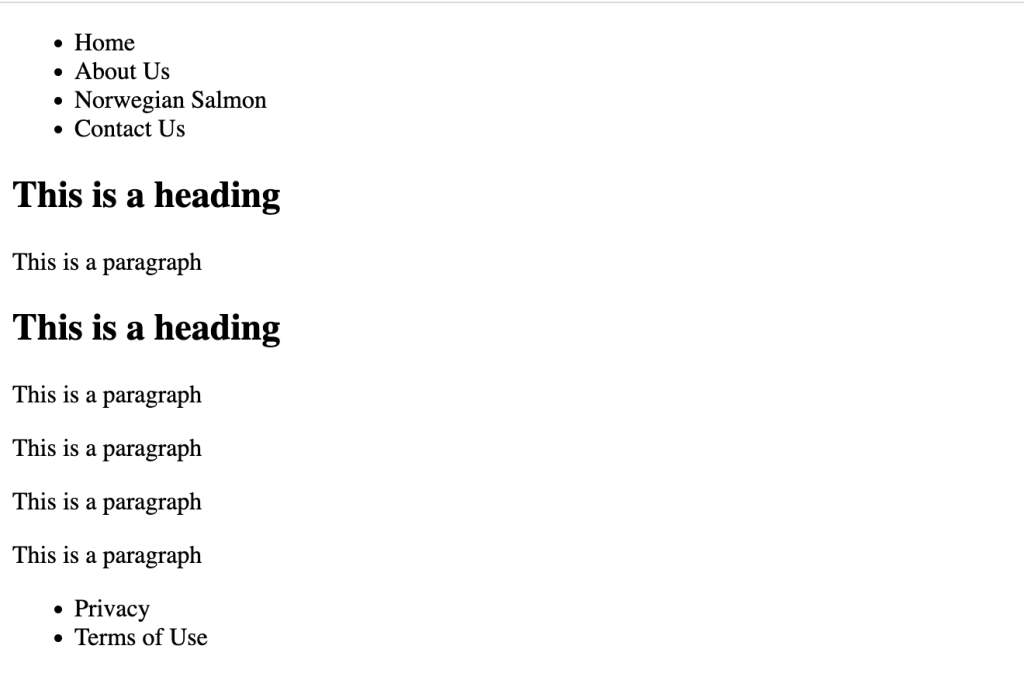
Check your page in a web browser to make sure it works properly.
Code View
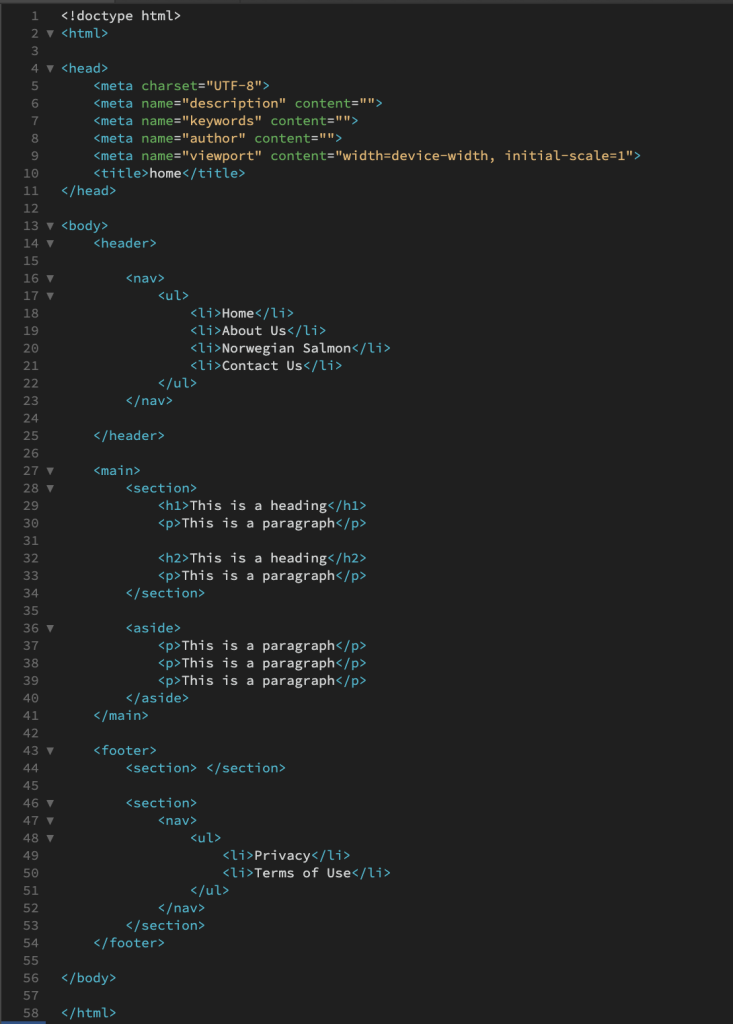
Browser View
1.4 Lesson - HTML Links & Images
For this Lesson Task, you will continue to work on the web project to promote Norwegian Salmon. You can use the same HTML document you’ve been working on in the previous two lesson tasks as a starting point.
Part 1
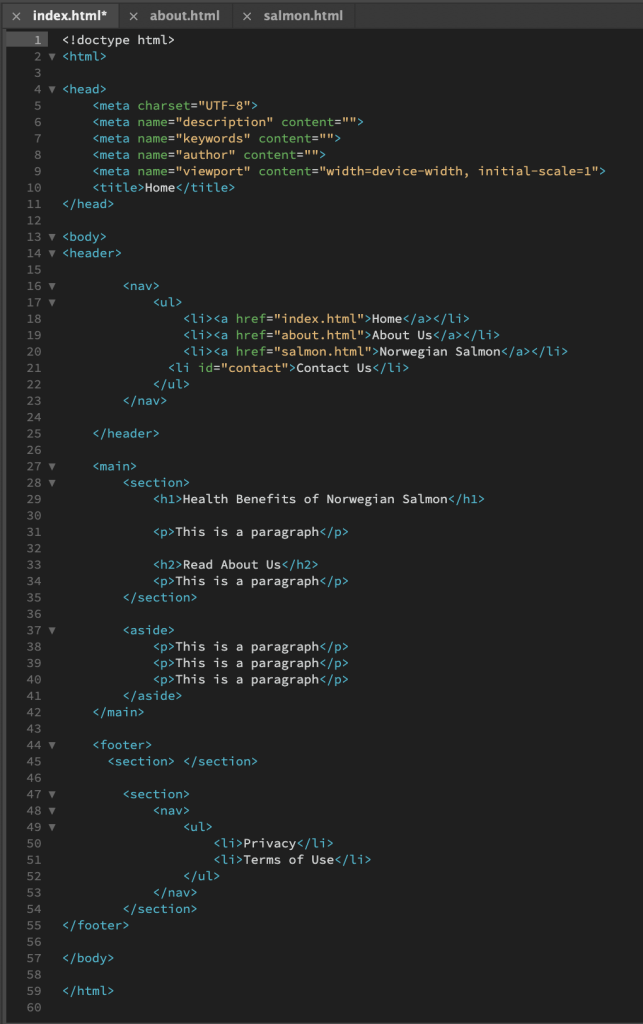
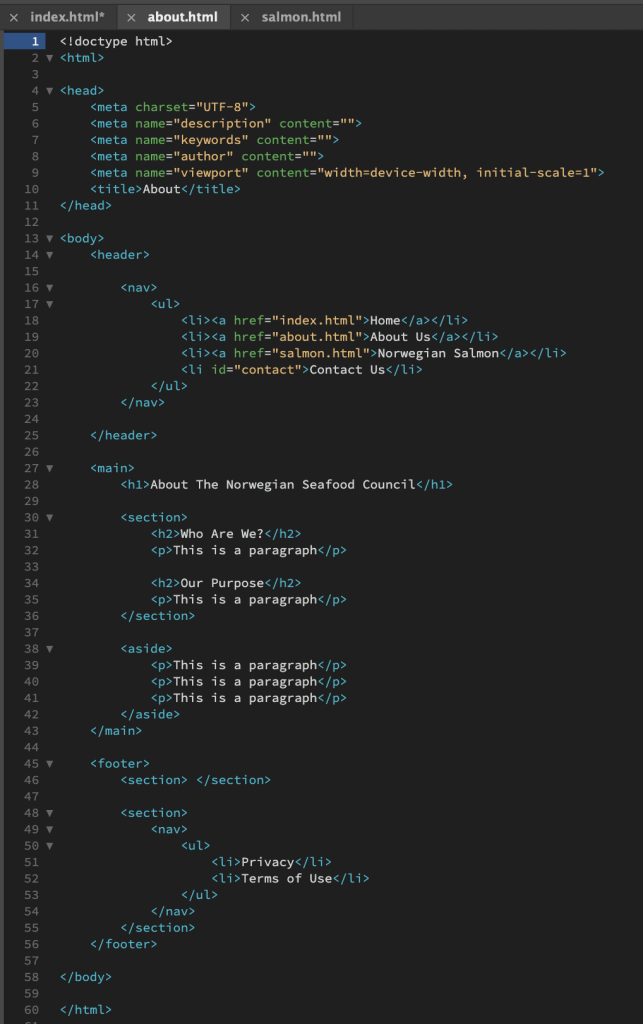
Brief: Create the other HTML pages that you have planned for the webpage.
Using the “href” attribute and relative file paths, create links to each of the pages from the <ul> in the index.html document.
Populate each of the new HTML files with the same <ul> for navigation and at least one <h1> to state the title of the page.
Part 2
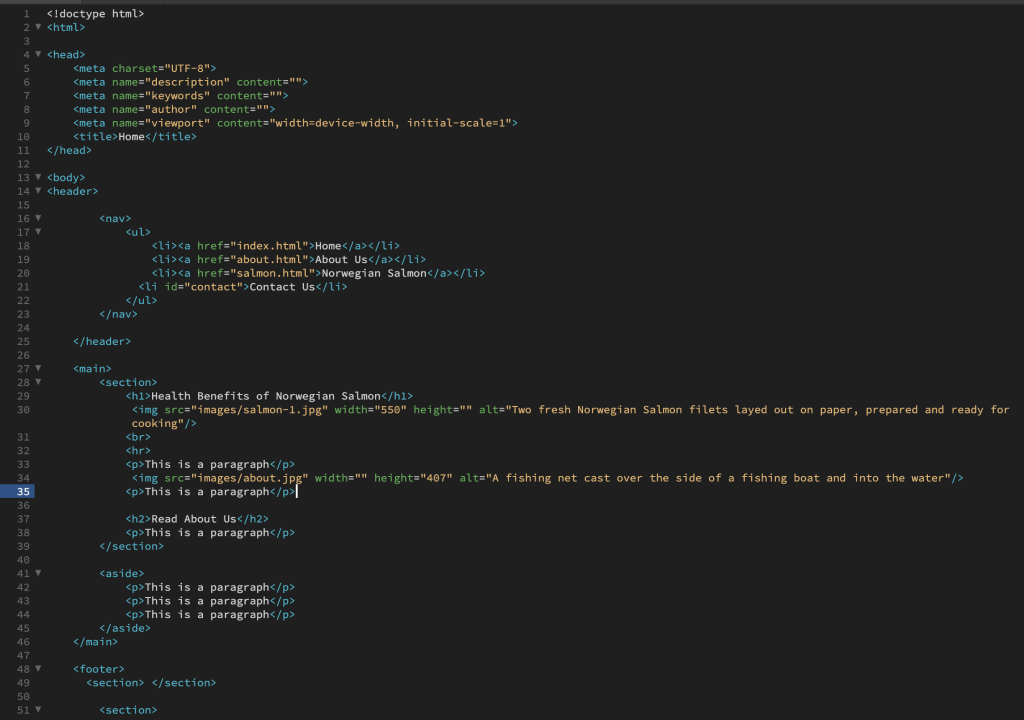
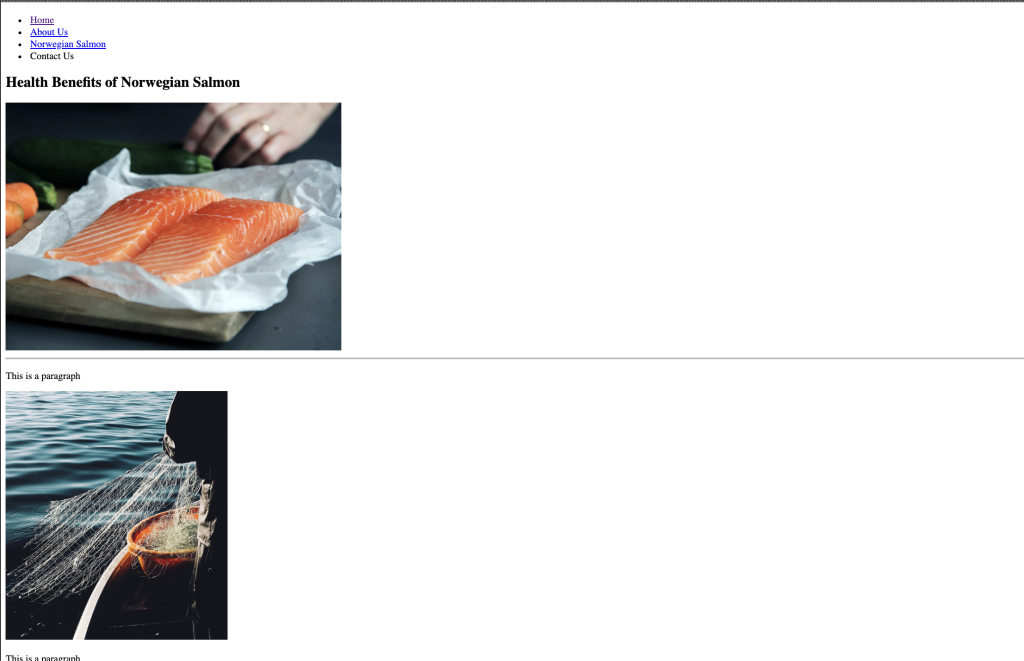
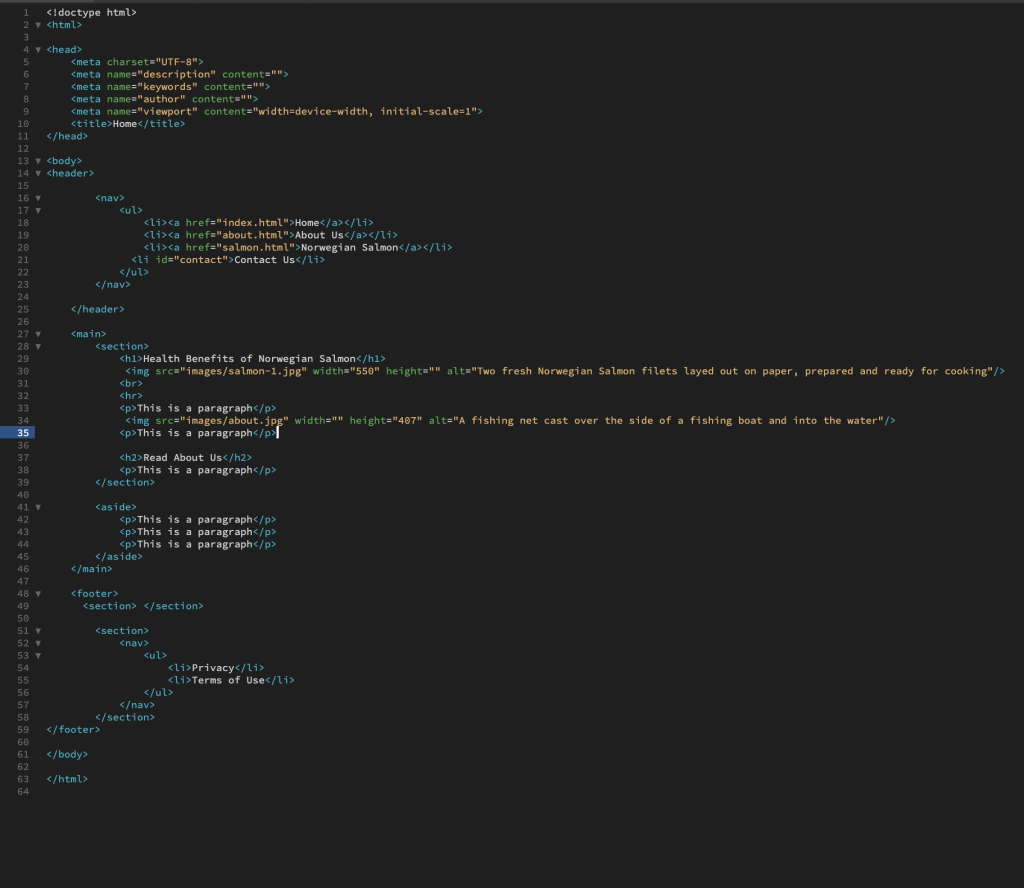
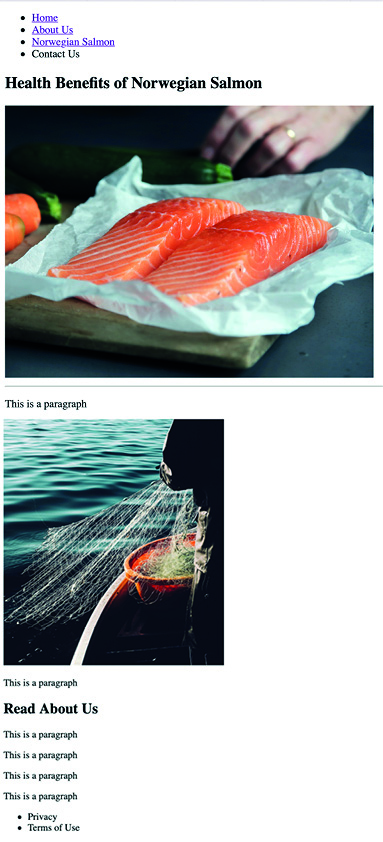
Brief: In your index.html document, add one image to one of the sections of the page using a relative file path. Add text for the “alt” attribute.
You can experiment by adding a width or height attribute to make the image fit inside the browser display.
Add another image. Observe how the images are placed on the HTML page. Add a <br> element between the images to see how the layout changes. Add an <hr> element to insert a line break between the images. Finally, add a <p> element between the images.
Part 2
Brief: Select the root folder containing your HTML and the “images” folder and upload it to your host using an FTP client. Once uploaded, check if the remote files work in your browser.
Check your page links in the live browser to see if they work properly.
Check if the images display.
Home
About
Norwegian Salmon
What I've Learned:
A lot of the material that was covered in this Lesson Task I already knew, or at least had basic knowledge of, but it was the perfect refresher on what I know about HTML so far.
I am going away from this task with much better knowledge and understanding of HTML elements, some of which I haven’t worked with previously, such as a more in-depth look into metadata, semantic HTML, and parent-child relationships of the elements. I also learnt the <hr> element, which is new to me, and that it’s also easier to set the navigation links out using a list. Another thing that I was surprised to learn (and couldn’t believe I didn’t already know this) was that leaving either the width or height attribute blank keeps the image in proportion.
All in all, this has been a fun task and I’m looking forward to the next part of it.
