CSS BASICS
2.1 Lesson - CSS Basics
A Nordic non-profit organisation commissions you to create a website to promote mental health awareness. This is a fictitious client.
Part 1
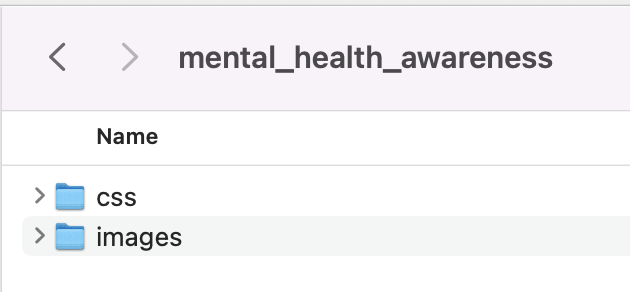
Brief: Create a basic file structure to organise your different types of documents and images.
Create at least three HTML pages for the project and name the home page “index.html”. Each HTML file should have the following:
- A <head> section with an appropriate title and meta description.
- A <body> section divided into a <header>, <main>, and <footer> section.
- Every page <header> must have a <ul> that contains links to all the HTML pages and an <h1> element that names the page.
The home page should also have a <main> element that contains the following sections:
- What is mental health?
This section should have at least one <p> element with text. - What are the warning signs?
This section should include a list using <ul> or <ol>. - What to do?
This section should include a <p> element with at least one link to an outside source using the <a> element.
Remember to make use of <h1>, <h2>, and <p> elements to organise the body text, headings, and subheadings.
File Structure
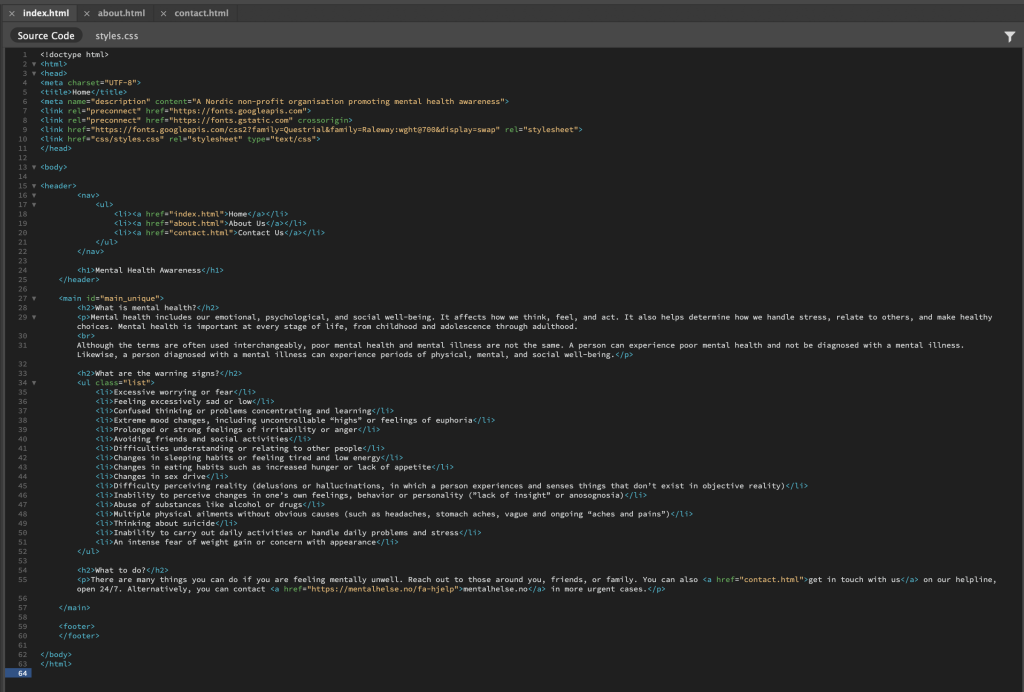
HTML Code - Home
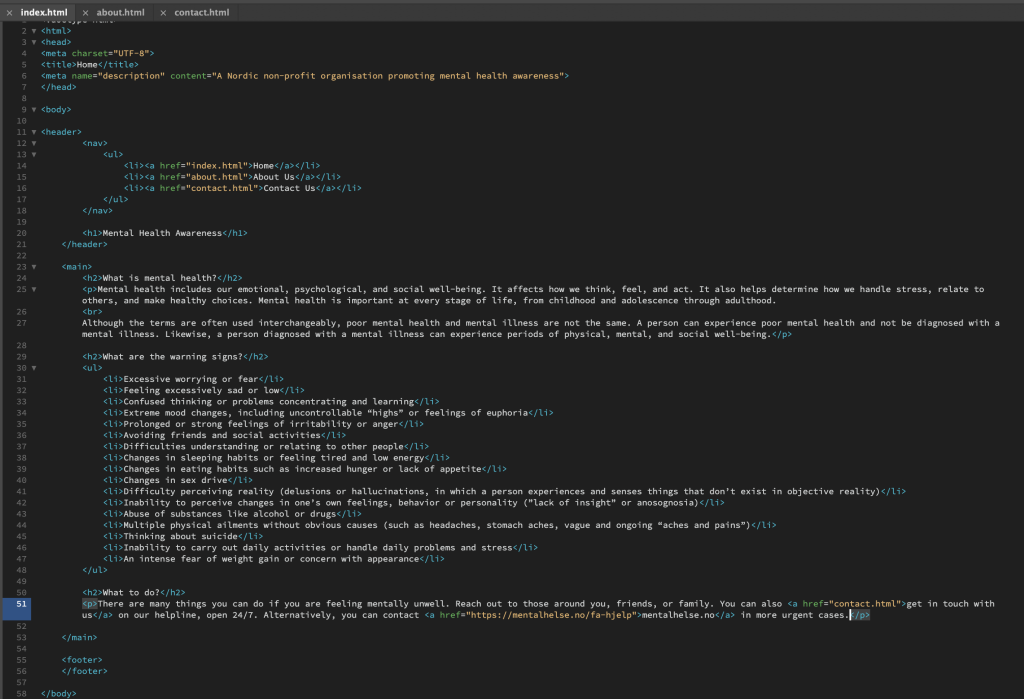
HTML Live View - Home
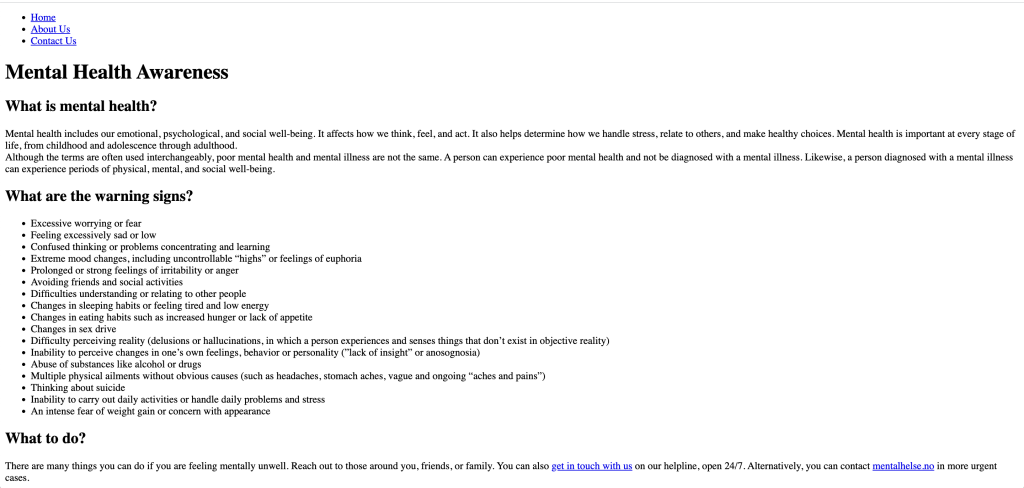
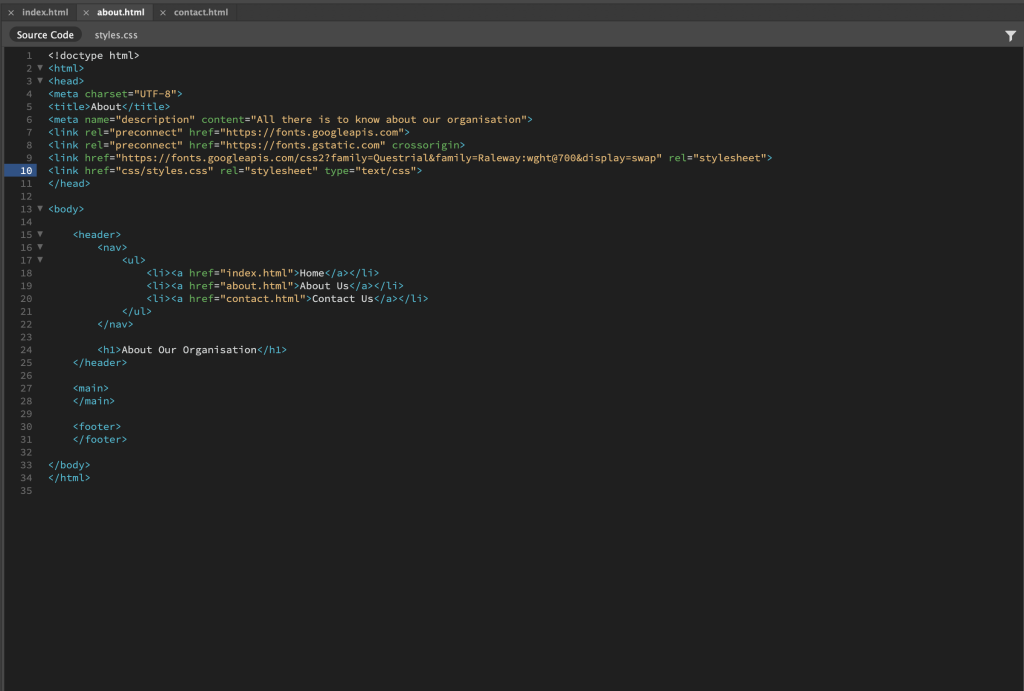
HTML Code & Live View - About
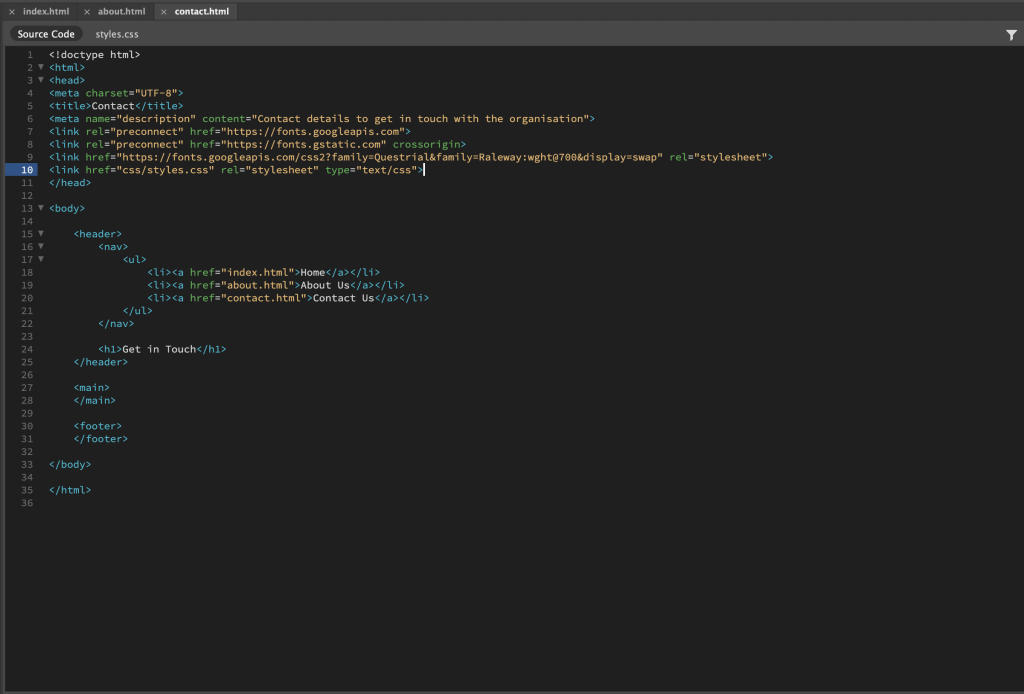
HTML Code & Live View - Contact
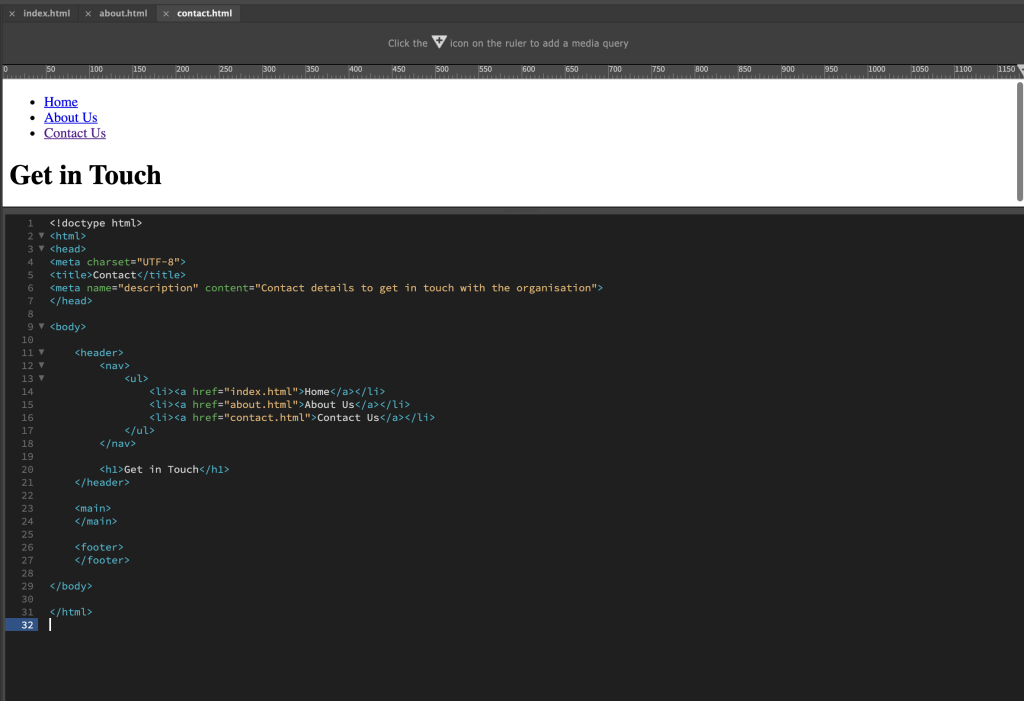
Part 2
Brief: Create a new document in Adobe Dreamweaver. This time, choose “CSS” as your document type. Save the file as “styles.css” in the same root folder as your index.html file.
Go back to the source code of the index.html file and link the styles.css file to the index.html file. You should add all the information inside the <link> tag using attributes.

Part 3
Brief: Using your existing index.html document, give a unique ID to one of the sections in your document and give a class to one of the <p>, <ul>, or <ol> elements.
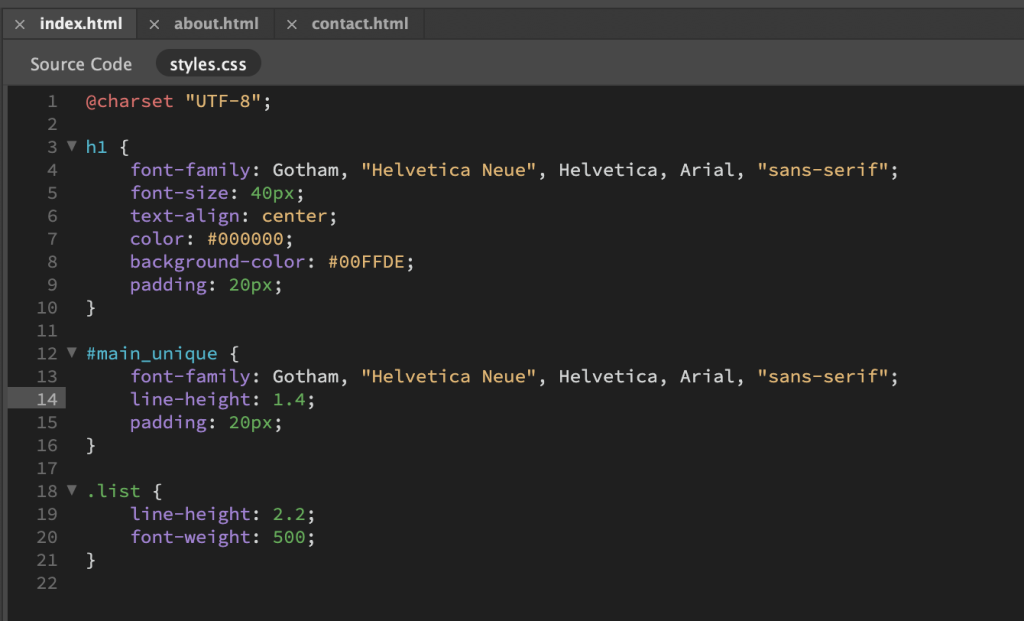
Now open the CSS file and create a ruleset that targets each of the following elements inside the HTML document:
- The <h1> element
- The section with the unique ID
- The <p>, <ul>, or <ol> element with a class assigned to it.
Unique ID & Class
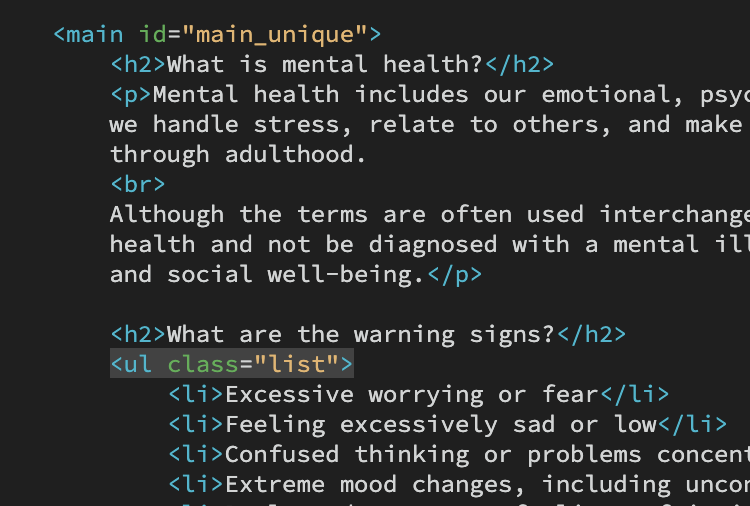
CSS Rulesets
Browser View
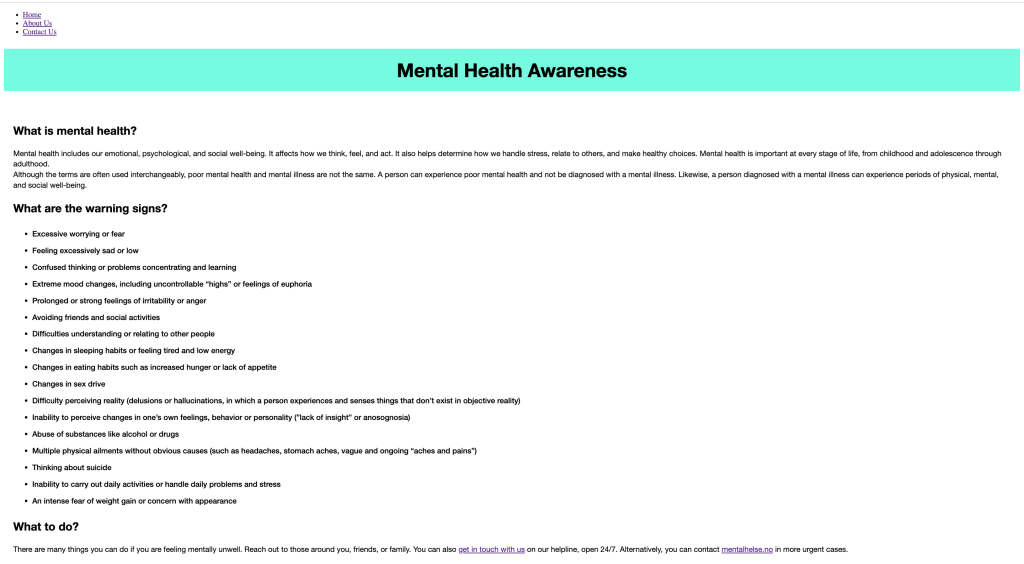
2.2 Lesson - CSS Implementation & Inheritance
For this lesson task, you can continue to use your existing index.html and styles.css files of the previous “Mental Health Awareness” project.
Part 1
Brief: Using what you’ve learned about general and more specific styling, apply a style to all the text inside the <body> of the HTML document. You can use an y property, but some suggestions are different web-safe fonts, a text-decoration, font style, or colour property.
Using a descendant selector, specify a different style for the links inside the list items of the navigation.
Describe what you have learned.
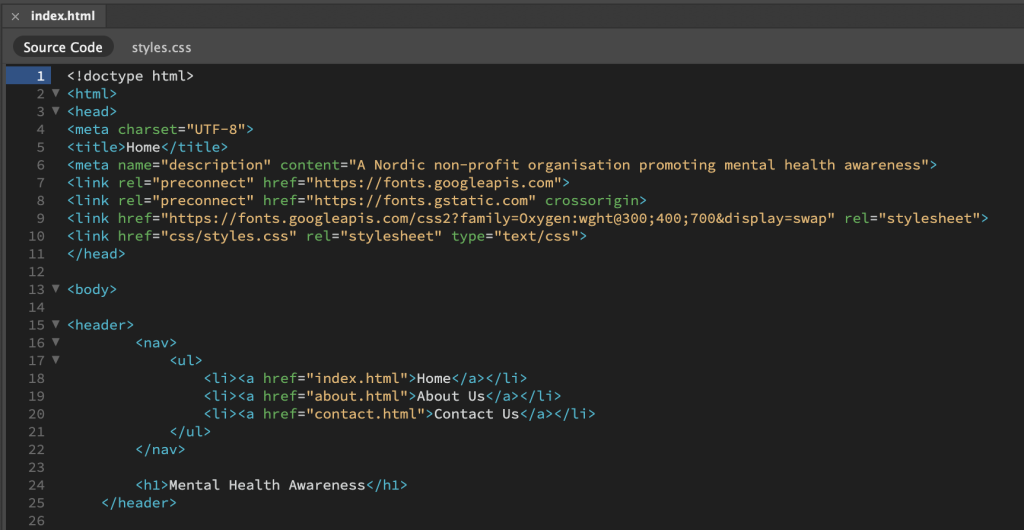
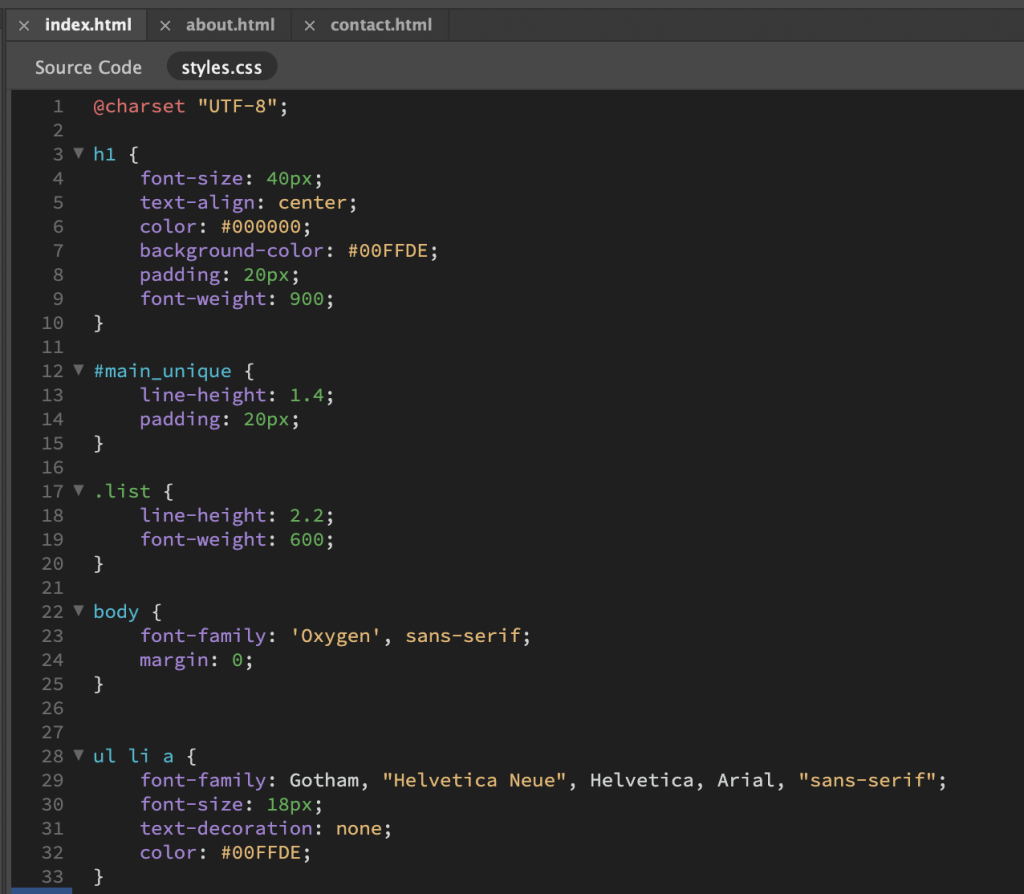
I downloaded a font from Google Fonts and linked the font stylesheet in the <head> section of the HTML document. In my CSS file, I applied the font-family rule to the <body>. I had already added some styling to some of the font in the previous lesson task, so I kept that the same only changing the font.
I specified a different font style to the navigation links using a descendant selector. This focused purely on the links within the navigation and didn’t affect the text within the <body>.
Linking a Font Stylesheet
Styling Text
Browser View
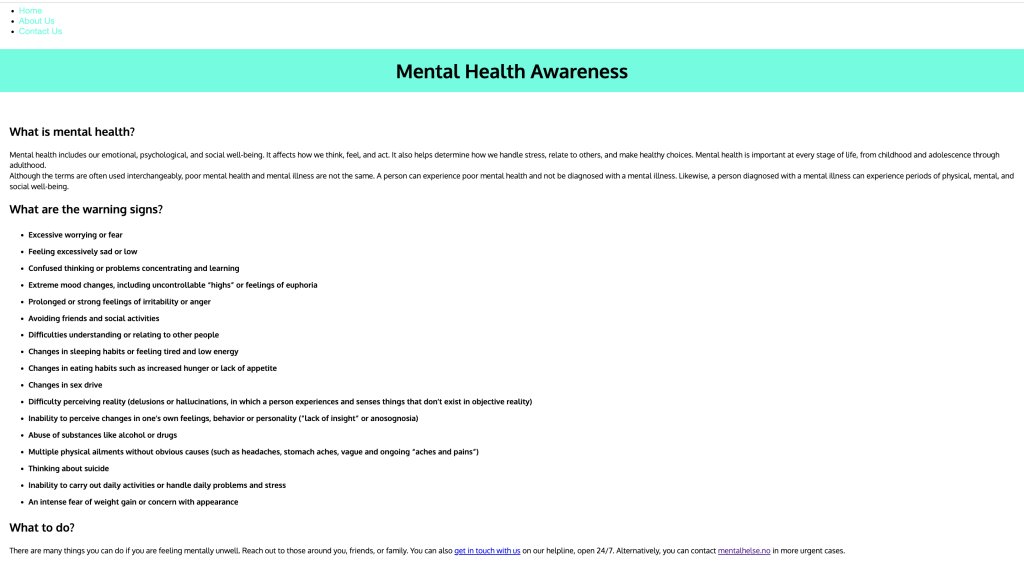
From the lessons so far, I have learnt that you can apply a style to a parent element and it’s child element will inherit the same style, but you can also override this by applying specific styles to the child elements alone. For example; I applied a ruleset to the parent (<body>), but wanted a different style applied to the links within the navigation, so I applied a different ruleset here.
Part 2
Brief: Open the website “CSS Zen Garden” in Chrome. This website was developed to display how powerful CSS can change the appearance of a simple HTML document.
Using the Chrome inspect function, find the following elements:
- <h1>
- <p>
- A link <a> with the class=”designer-name” inside a <li> element
For each element, write down the CSS ruleset applied to it. After doing this, load a different CSS style to the webpage and repeat the exercise.
Write about how the appearance of each of the three elements changed from one CSS ruleset to the other and mention what properties and values were applied.
Style 1
Style 2
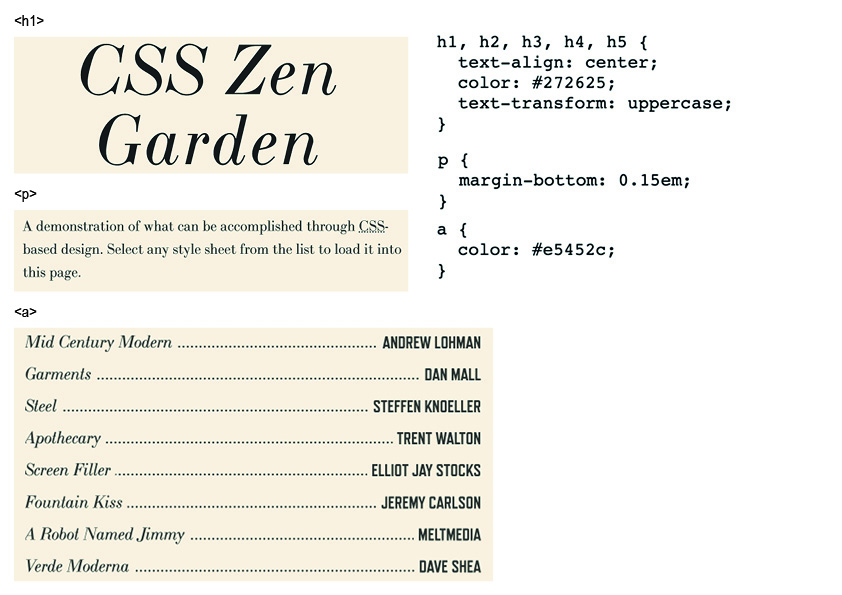
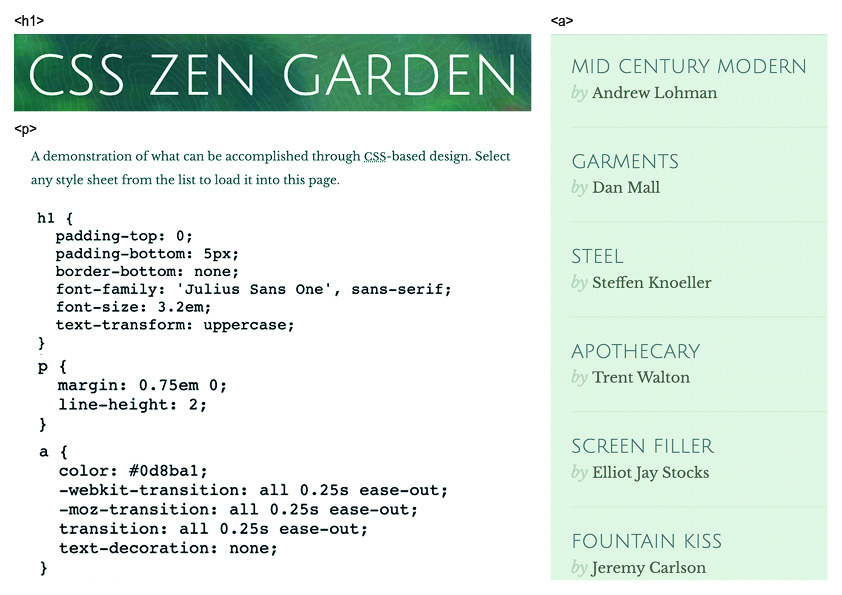
When comparing the two styles side by side, the ruleset of the three elements are very different from each other. Overall, across all three elements, the font-family, font-size, font-weight, line-spacing, and colour is different. Apart from the content, the two styles make it look like two completely different webpages entirely.
Looking at the CSS code, in the first style, the <h1> stands alone, where as in the second design, a ruleset is applied to a group of heading elements. Both designs have rather simple styling applied to the <p> element. The <a> element in the first design uses more complex styling, while the second design has simply applied one property to the <a> element.
Design 1
- <h1> – Styled with padding properties with the values measured in pixels and the font-size measured in em. A font-family is also specified, as well as a text-transform property with an uppercase value applied.
- <p> – Makes use of the line-height property, and margin property with the value measured in em.
- <a> – The value of the colour property uses hex.
Design 2
- <h1> – The text-align property is applied with a center value. The value of the colour property uses hex, and the text-transform property with an uppercase value is applied.
- <p> – Makes use of the margin property with the value measured in em.
- <a> – The value of the colour property uses hex.
2.3 Lesson - Styling Text
For this lesson task, you can continue to use your existing index.html and styles.css files of the previous tasks.
Question 1
Brief: Use an online font library and select a font pair for your project. You need to choose one font to use as a heading font and a different font to use for all paragraph and body text.
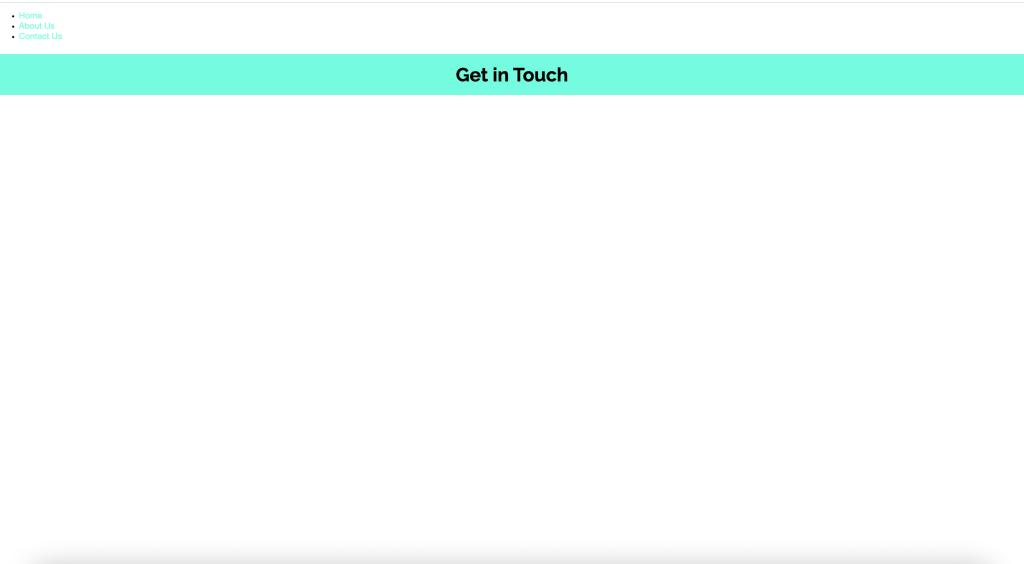
Using the <link> tag method described in the lesson, link the chosen fonts into your project. Create rules in CSS to apply the fonts from the library to create a different style for font headings, paragraph text, and list items. The same text styles should apply to all the pages of your website.
Write a short paragraph to explain what you have learned about styling text using fonts from an online library.
HTML - Home
HTML - About
HTML - Contact
CSS
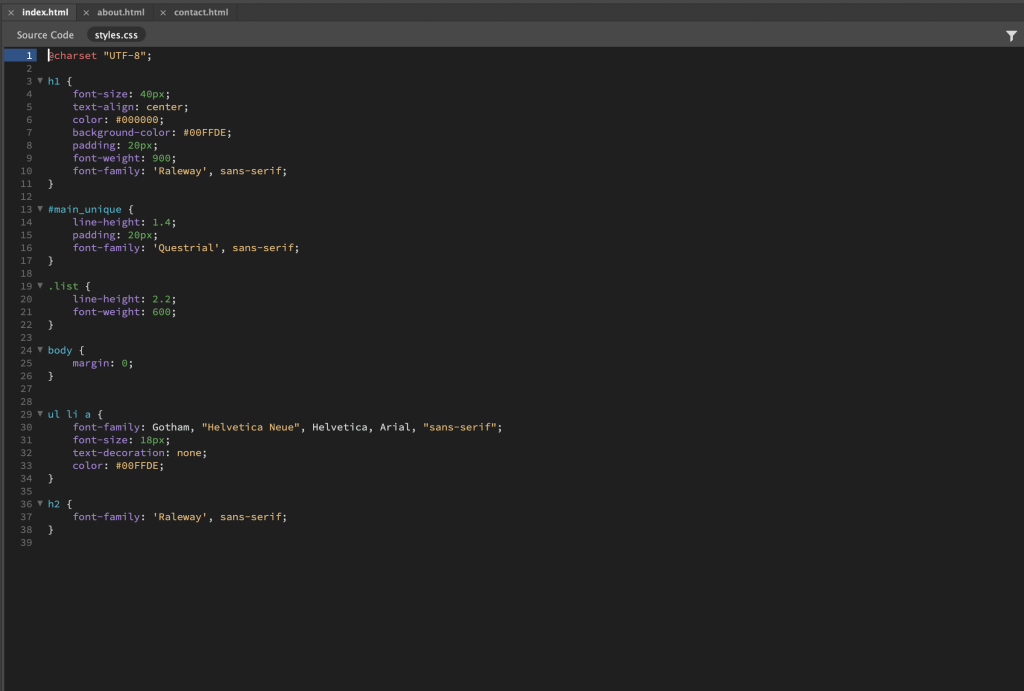
Browser View - Home
Browser View - About
Browser View - Contact
From this lesson about styling fonts, I have learnt that you are given many more font options by using an online font library and can be assured that the fonts are web-safe – these usually come as a font stack with back-up fonts. Applying these fonts to both the HTML and CSS files is quick and simple as Google Fonts provides you with a link to the stylesheet, as well as the properties and values of the fonts.
2.4 Lesson - Pseudo-Classes
For this lesson task, you can continue to use your existing index.html and styles.css files of the previous tasks.
Part 1
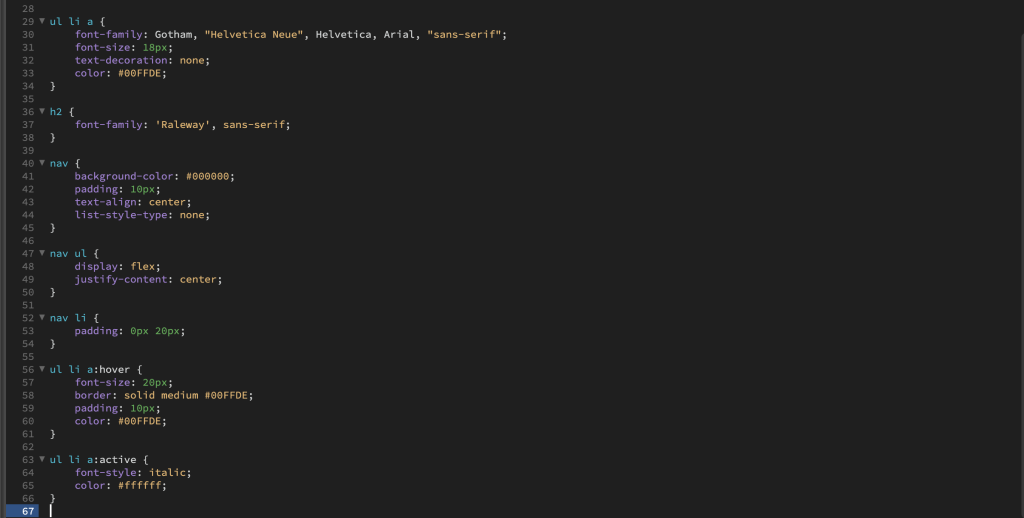
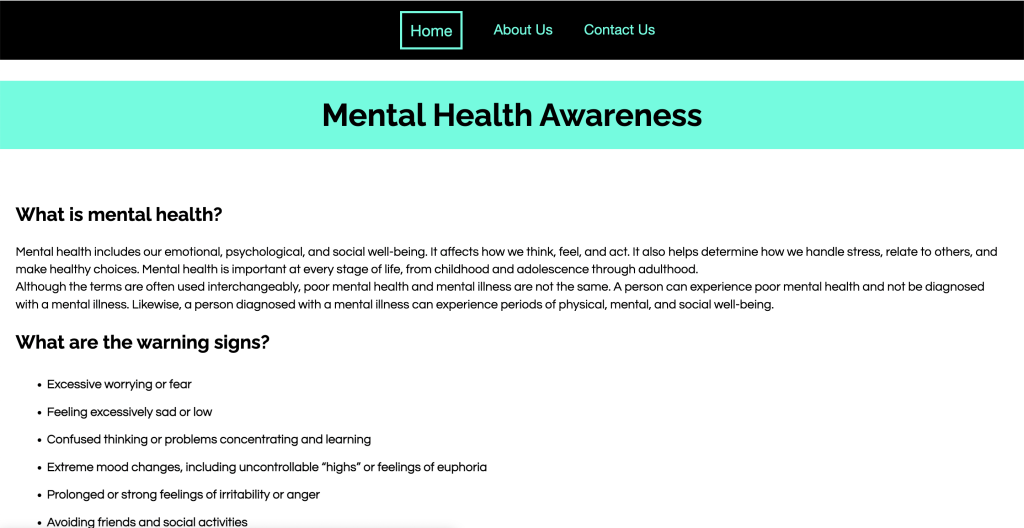
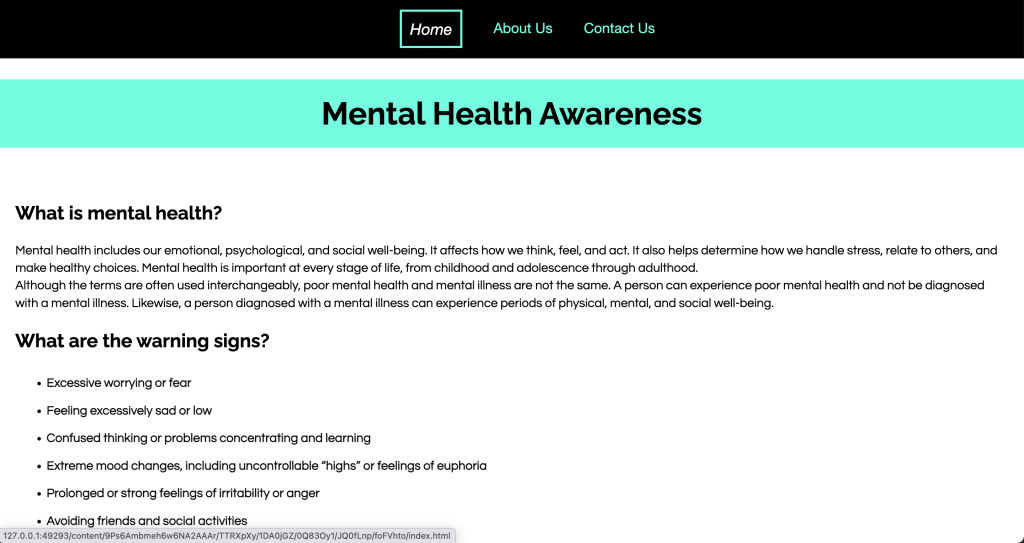
Brief: For this lesson task, you need to focus on applying pseudo-classes to the navigation list. Apply a “hover” and “active” state to all the menu items. The styling can be as simple as a background colour, font style, or text.decoration.
Show what the links look like in both the hover state and active state.
CSS
Hover State
Active State
Part 2
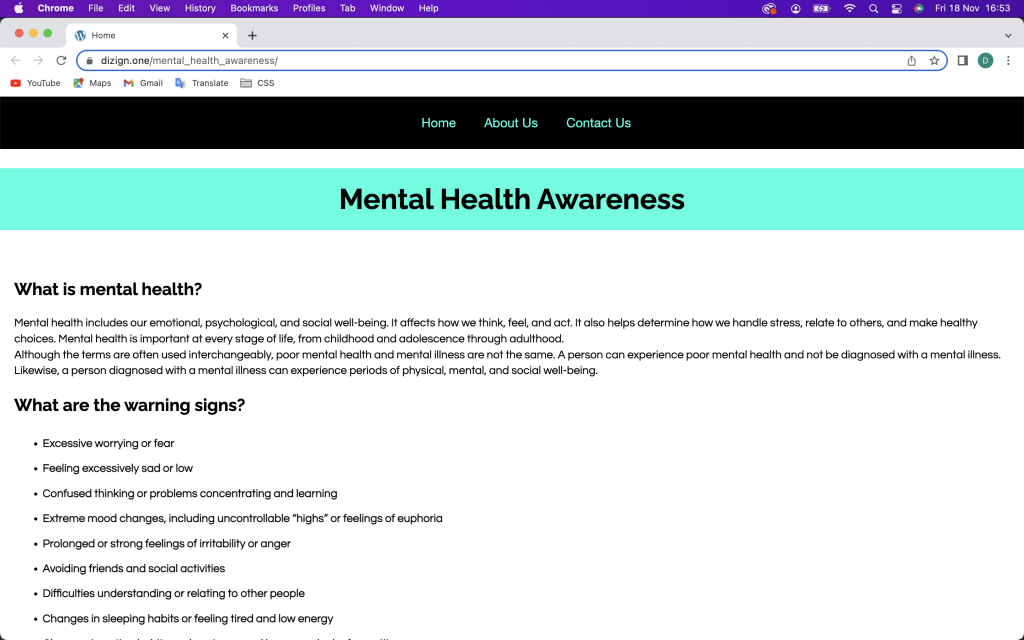
Brief: It’s time to put the links to the text from outside your local folder. Upload the root folder containing all your web page files to your host using an FTP client. Once uploaded, check if the fonts load correctly on all pages, check the pseudo-classes, and check if your page links work correctly.
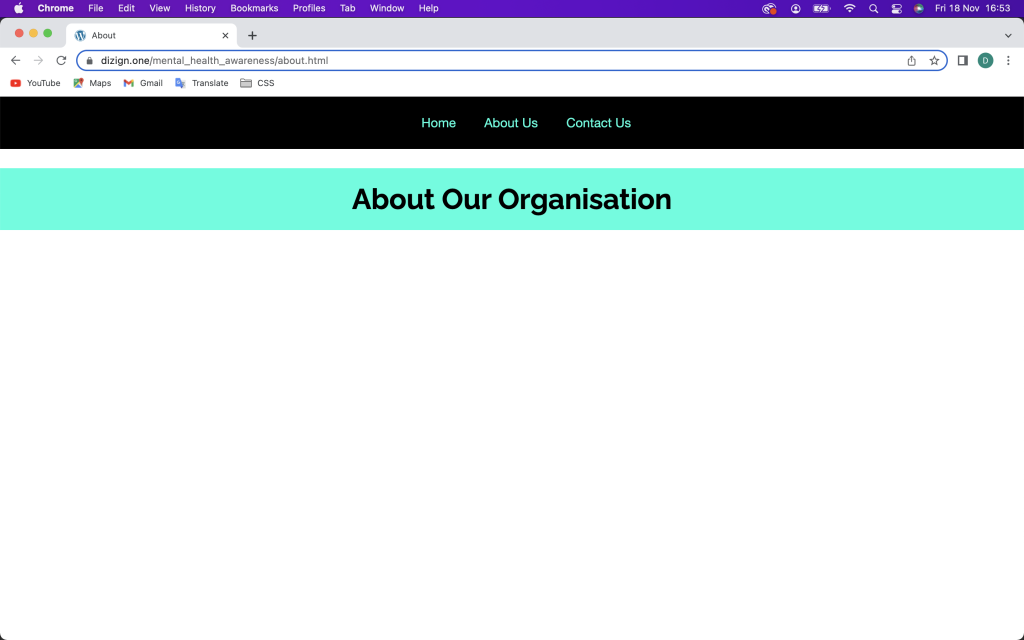
Show your web page loads correctly in the Google Chrome browser and write a short description of the process.
Home
About
Contact
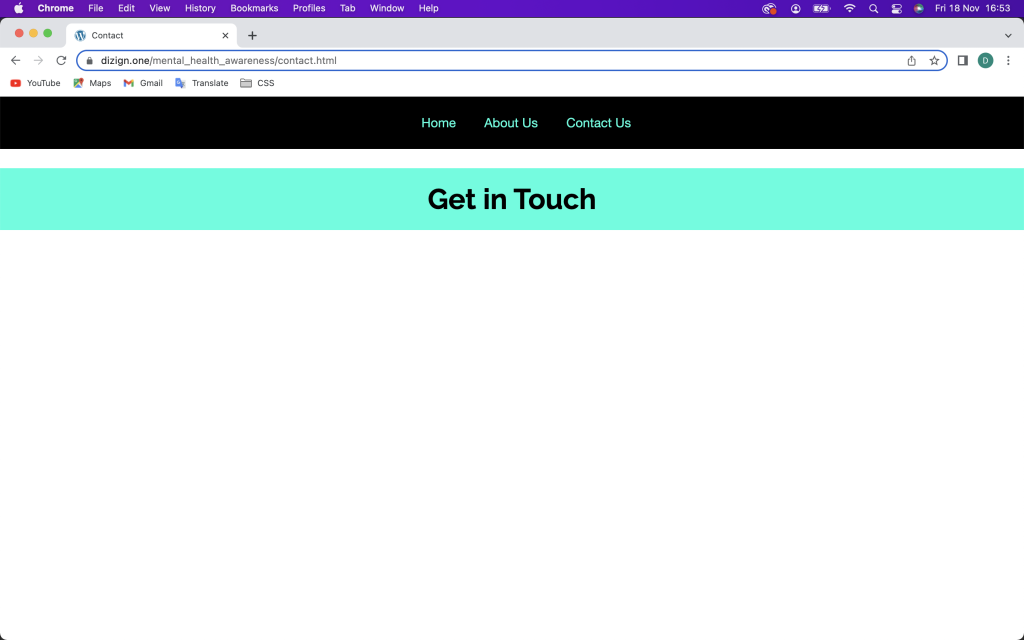
In order to achieve this design, I first created a basic file structure for my documents. I then created three HTML files: Home, About, and Contact. I included a title and meta description within the <head> of the document and added some semantic elements within the <body>. This included a <header>, <main>, and <footer>. Next, I included some content and applied the appropriate elements to it. Following this, I began to style my content in CSS after creating a stylesheet and linking it within the <head> of the all three HTML files. I applied rulesets to the elements, such as; font-family, font-size, line-height, font-weight, colour, background-colour, padding, and more. Lastly, I applied pseudo-classes to the navigation list items, including hover and active states.
Everything loaded and worked perfecting upon uploading my files to the FTP, which makes me feel confident that my file structure and links have been set up correctly.
