1.1 Lesson - Product Photography
Brief:
You are required to take and edit a product image for IKEA.
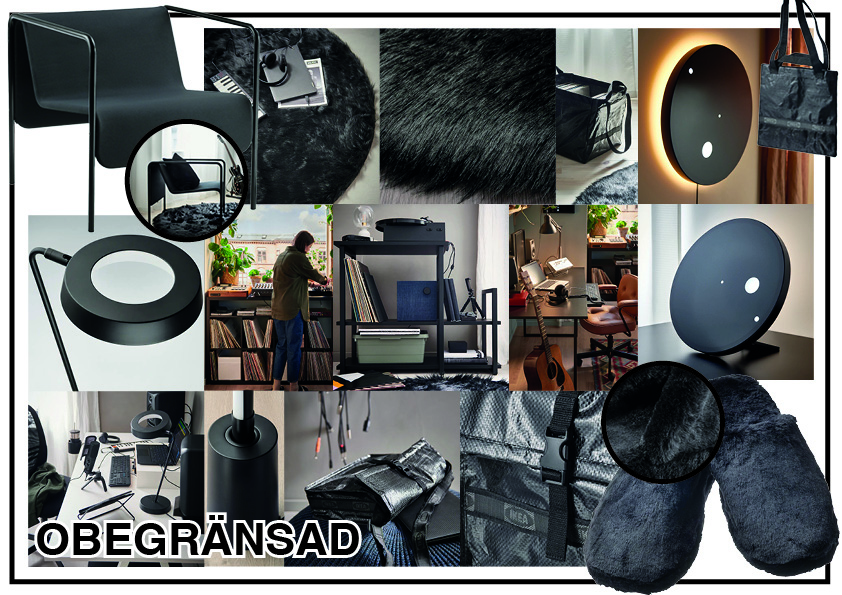
Do some research on the IKEA website and create a simple mood board with sample photographs from products on the website, showing the style you are imitating. Your final image must meet their online store’s look, feel, size, and resolution.
You may shoot any suitable product of your choice, as long as you can envisage it fitting in IKEA.
You can choose if you want to photograph the product on a white background or in a lifestyle setting.
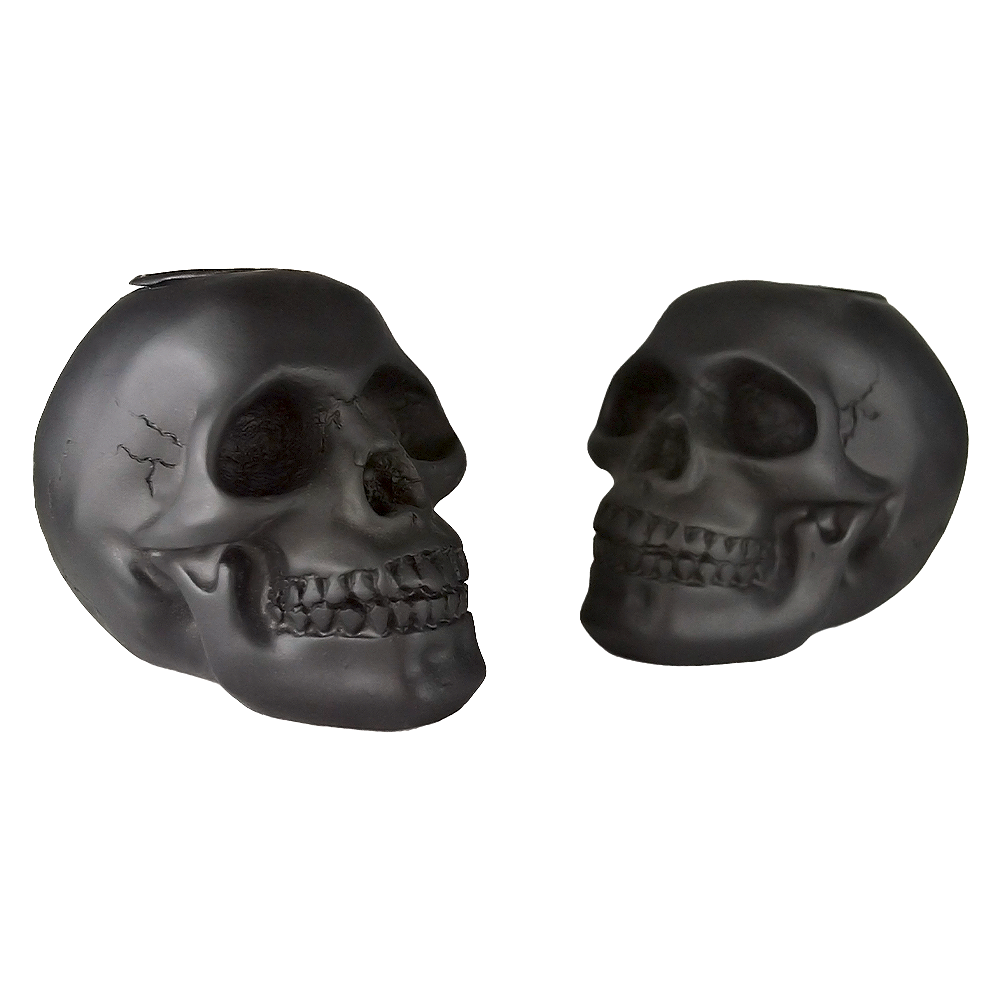
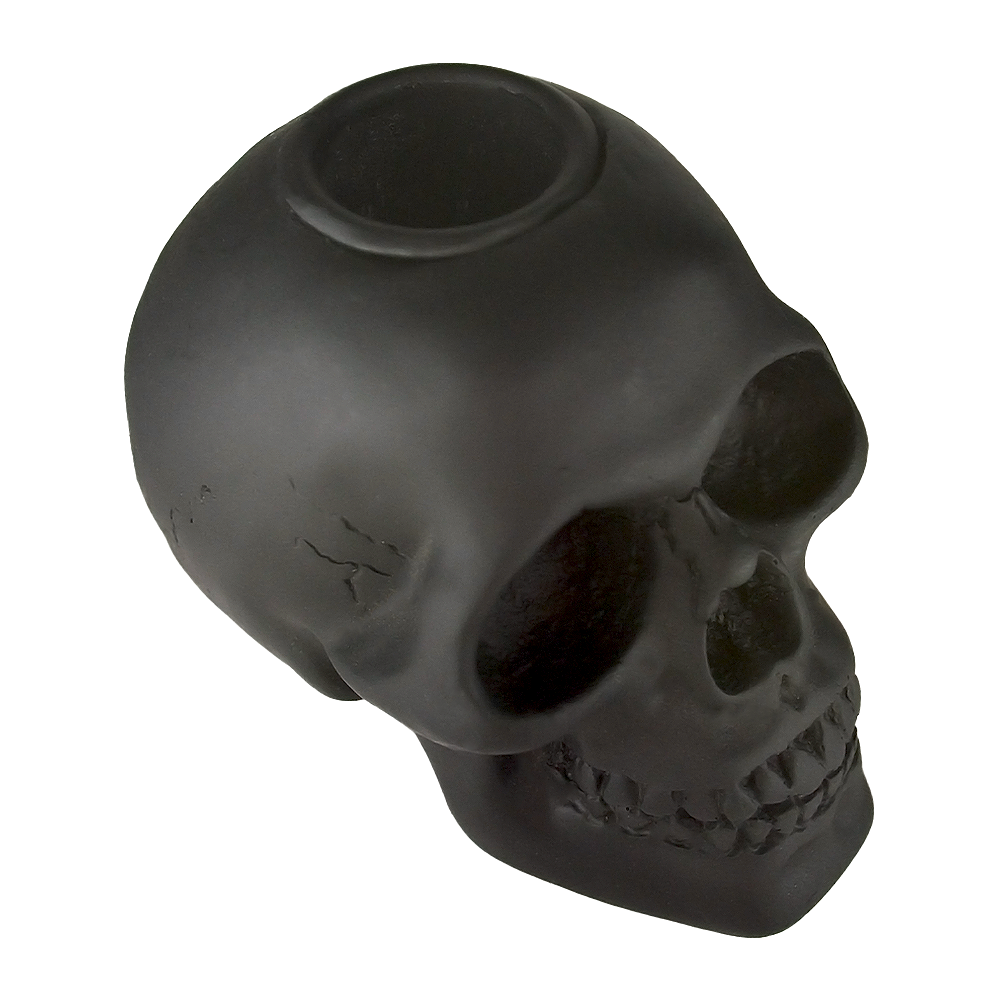
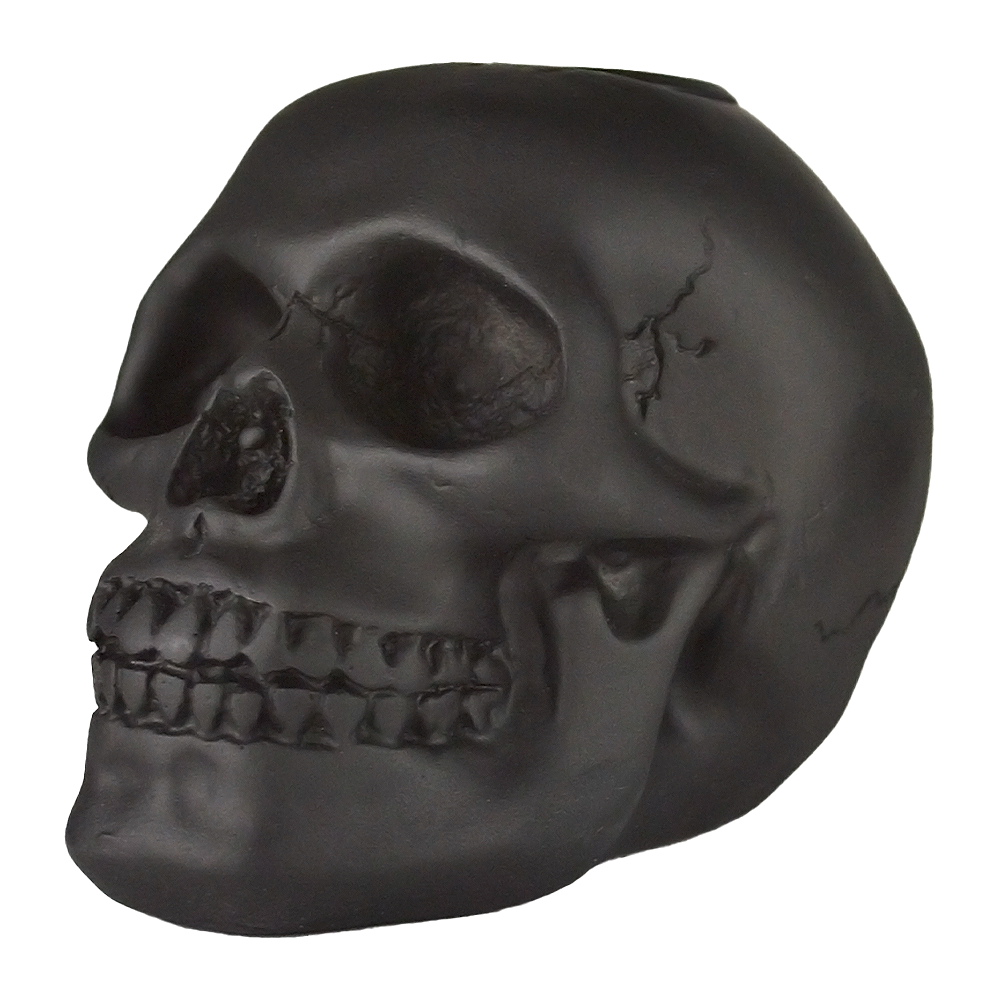
I chose to shoot a product for the Obegränsad collection, which features all-black products. My product is a black skull candle holder, shot on a white background with a two-light setup.
IKEA usually have three or four images of any single product, therefore I chose to create four shots of my product.
Mood Board
Product Image
Camera Settings:
1/50 f/4,5 ISO 300 Manual

1.2 Lesson - Food Photography
Brief:
Your client is a local chef that needs a dark and moody food image for a magazine article in which he will be featured.
Plan your image well. It must be in the editorial style.
Ensure that focus and composition lead the viewer’s eye to the main subject.
Edit your image to the best of your ability.
This was certainly one of the more challenging photographic styles to shoot. I have taken photos of food before, but not like this. Separate from my planning, the set up and shoot took me around 3.5 hours.
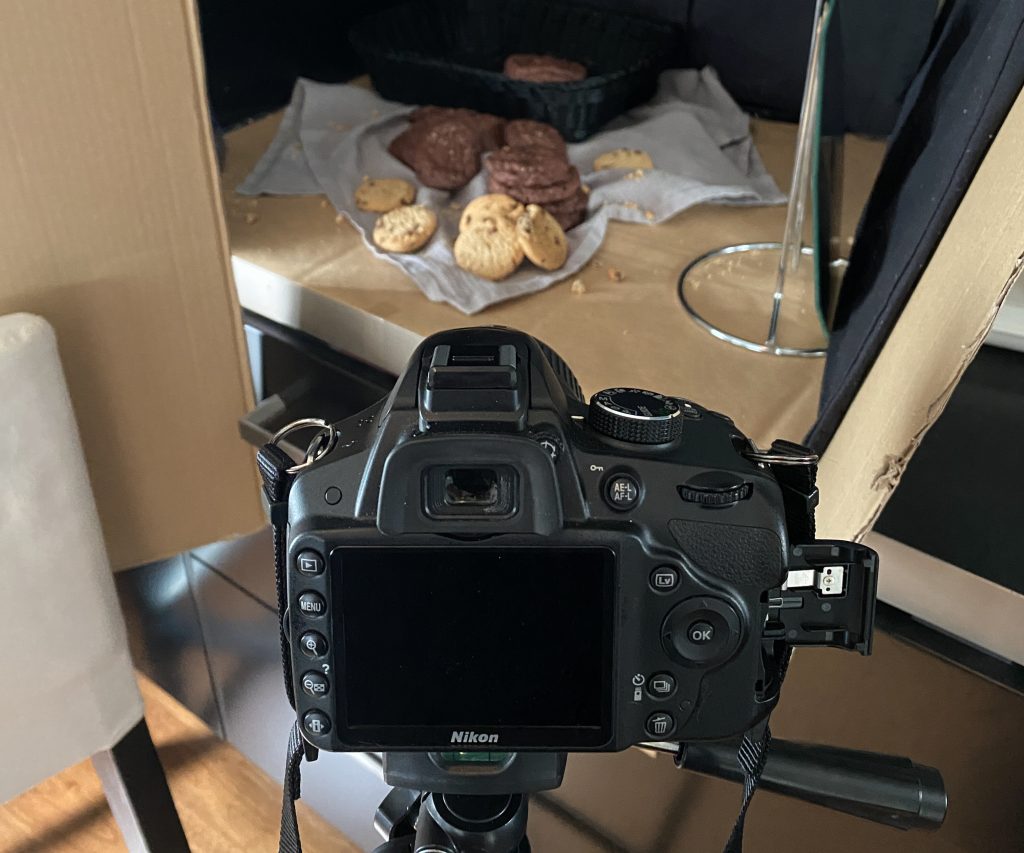
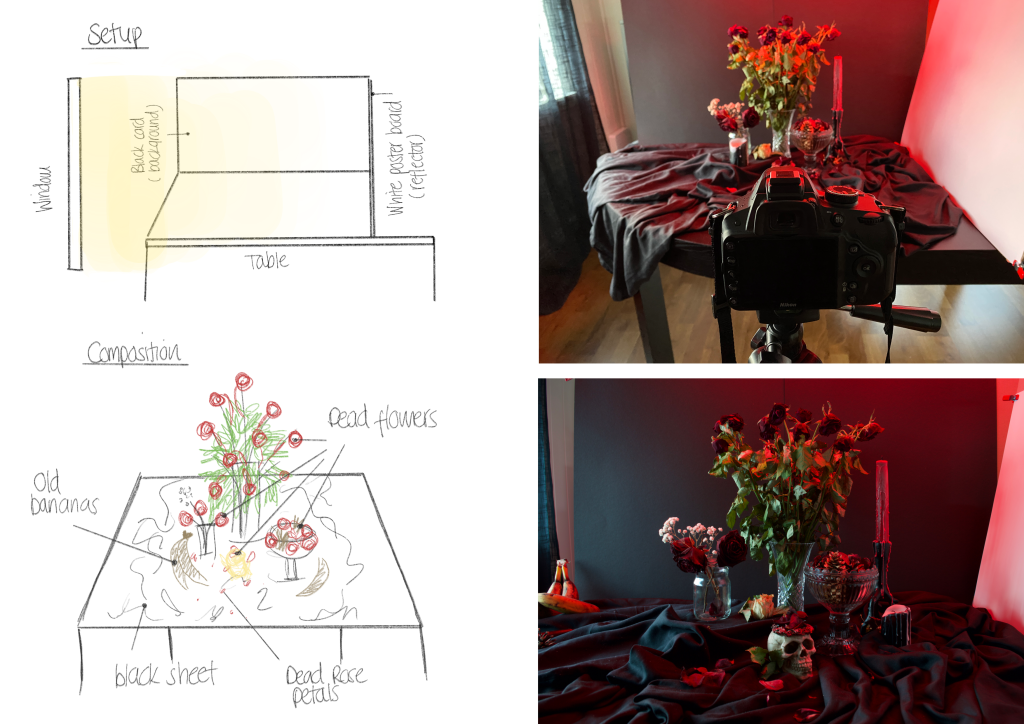
For this shoot, I used one continuous light source (natural window light on an overcast day) and a reflector (mirror).
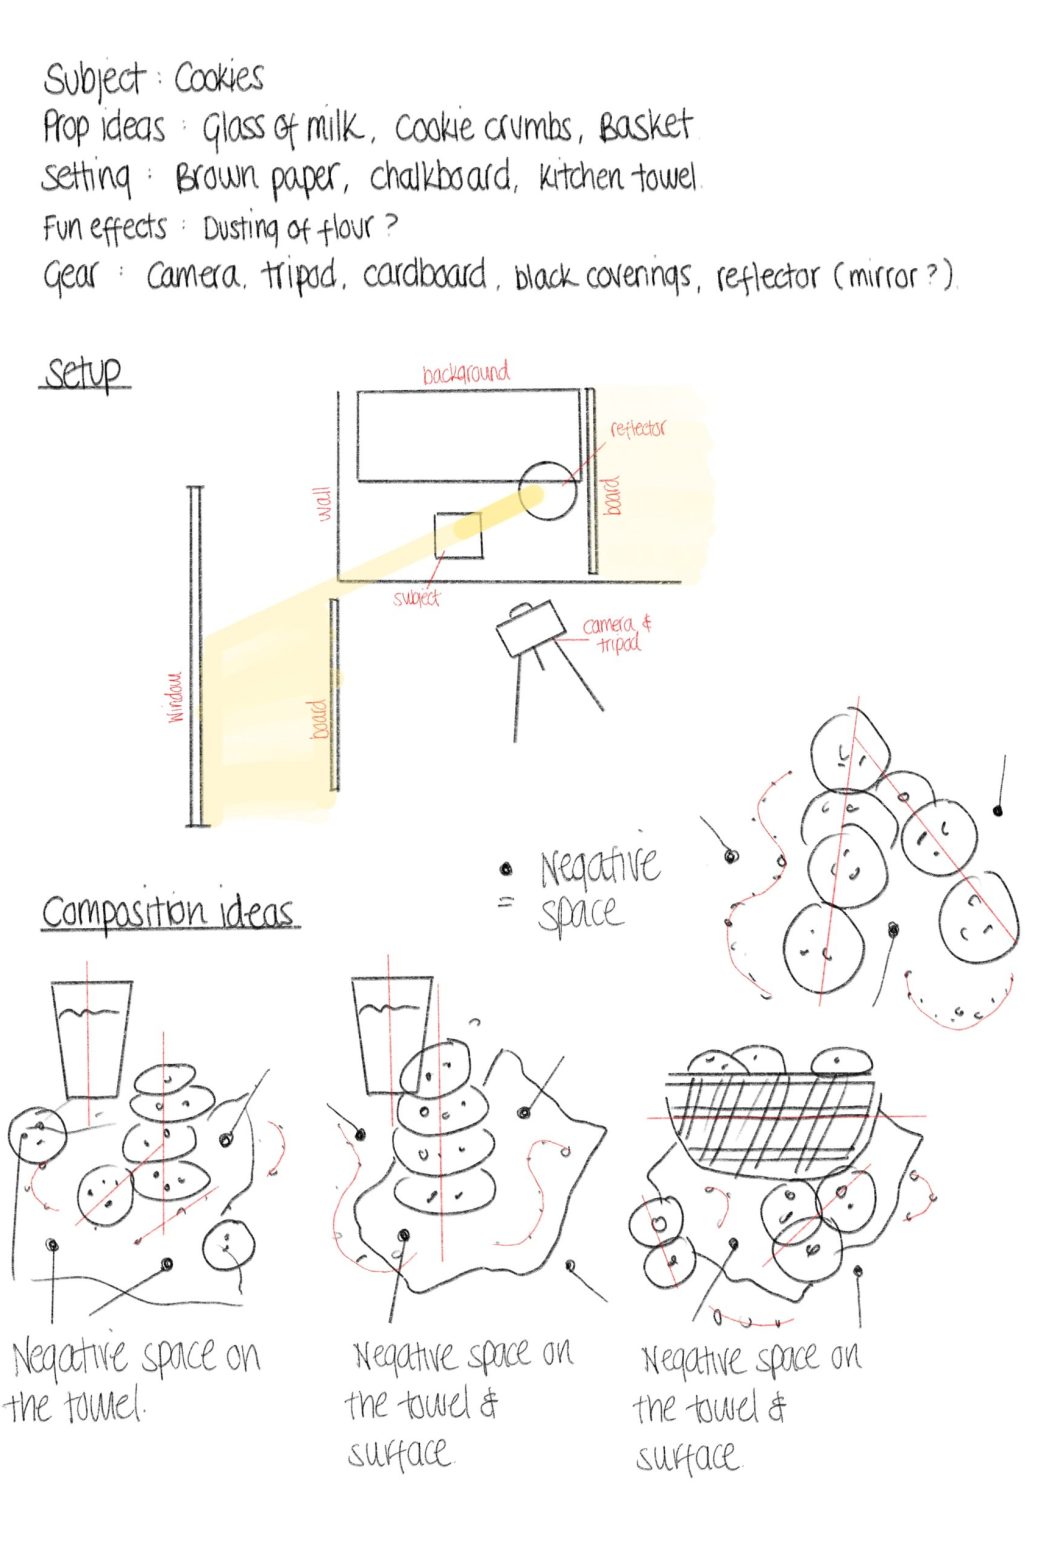
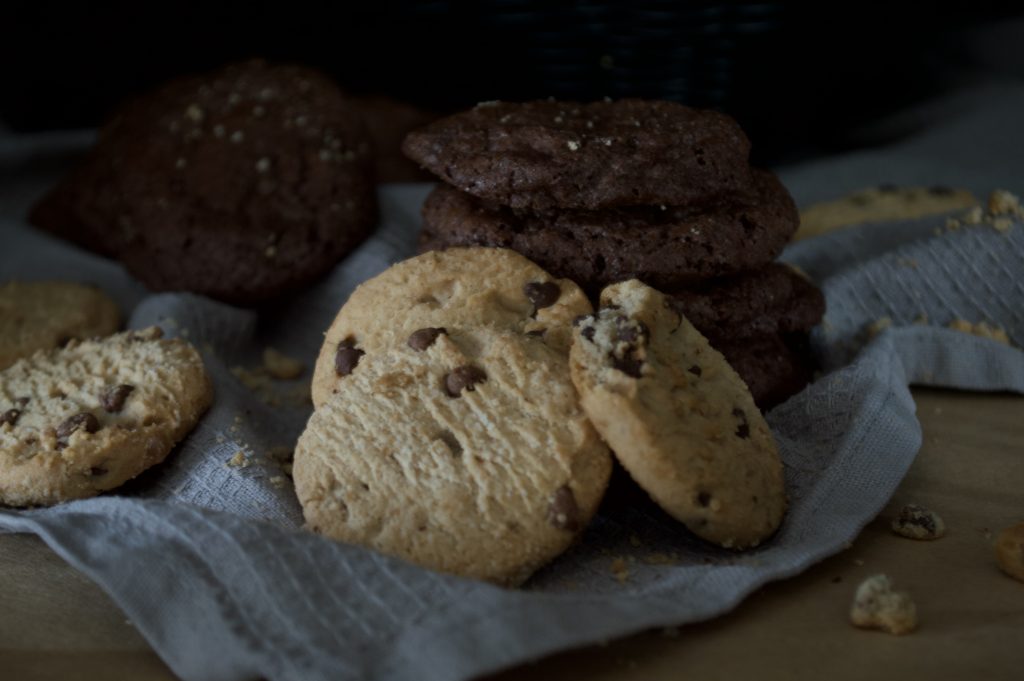
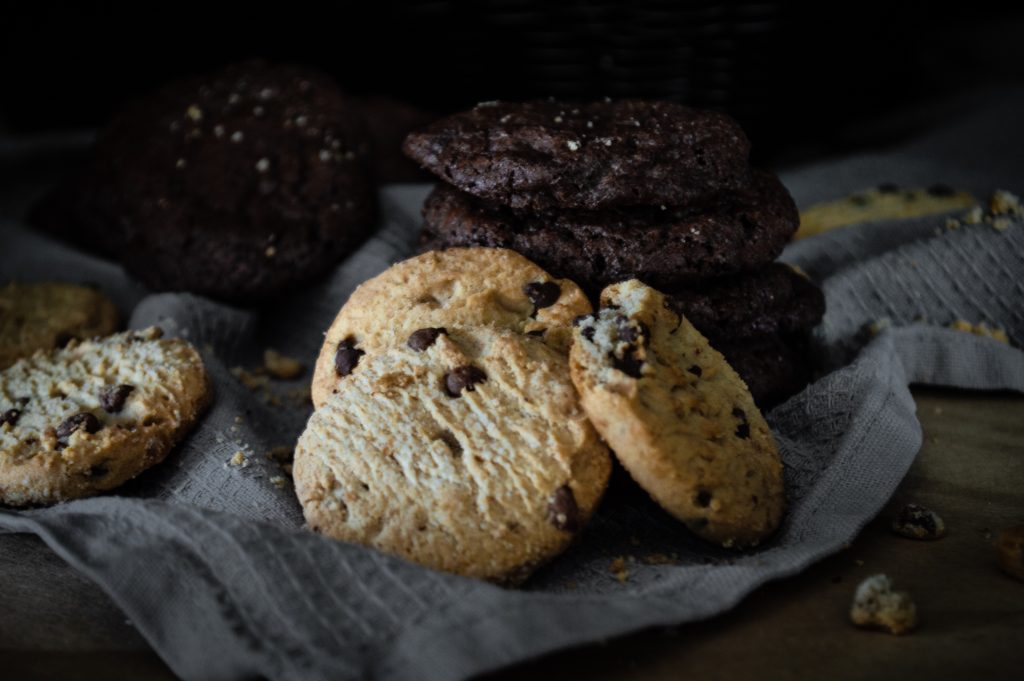
I have included my planning and setup along with my original and final (edited) photo.
Planning, Setup, and Original Image
Final Photo
Camera Settings:
1/3 f/6,3 ISO 400 Manual Focal length: 50mm
1.3 Lesson - Still Life Photography
Brief:
You’ll create a still life image with a strong artistic style of a small collection of items. These items must have a common theme or symbolic meaning.
Your final image will be used in a poster for an art exhibition in your hometown called: “17th Century Stilleven”.
Add a short description where you elaborate on the theme or symbolic meaning and your intentional placement of objects to create the desired composition.
Composition was probably the most challenging part of this shoot. I chose my objects and then added them into my scene gradually, rearranging as I went along. I ended up removing a couple of my original objects and replacing them. This took a long time, but I’m really happy with the outcome.
I started off using only window light (coming in from the left), and then added an artificial light source later (a red light directly above my scene with enough brightness to add some colour, but not create any unwanted shadows). I also used a white poster board as I reflector to the right or my scene.
When editing my photo, I really noticed the power of image cropping.
Planning, Setup, and Original Image
Final Photo
Camera Settings:
1,3 f/6,3 ISO 100 Manual
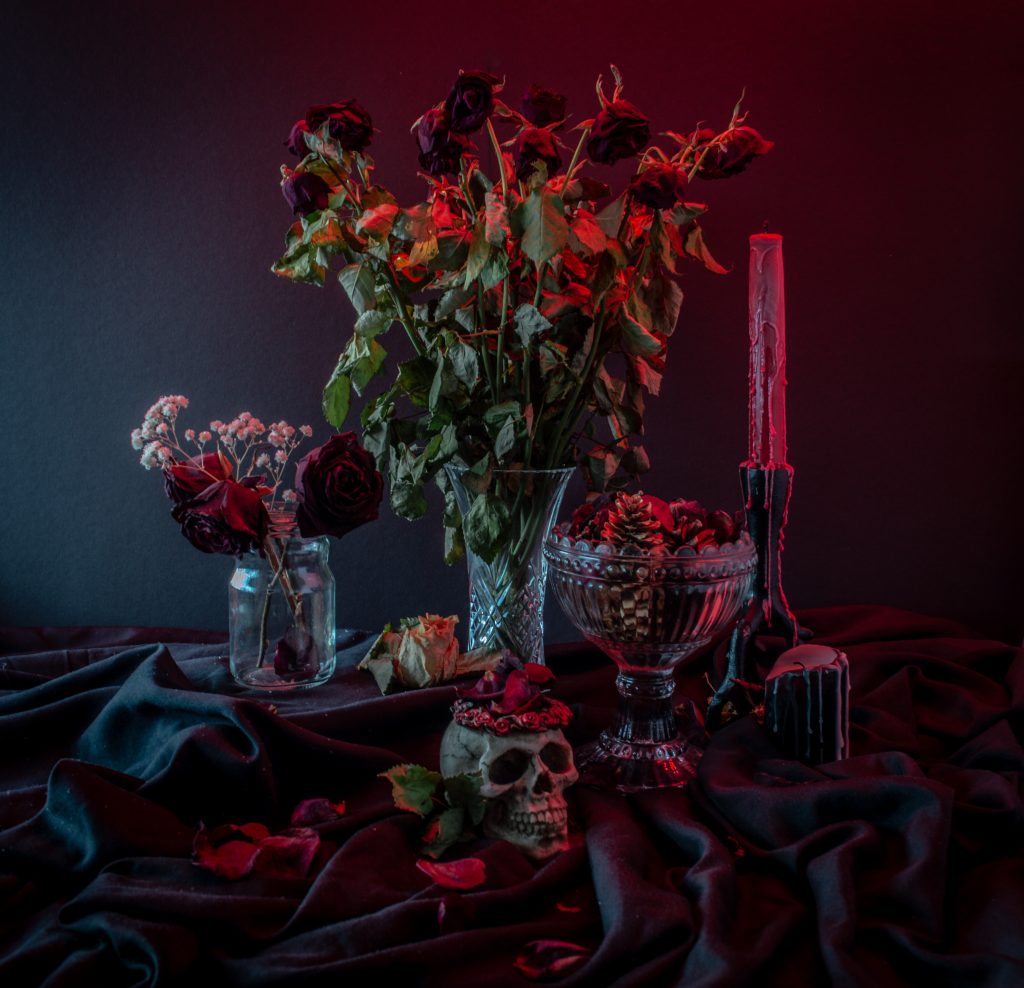
The theme of my still life image is “Death”. My image represents a life lived – once bright and full of life turned dark and dead – used up and forgotten. The placement of my objects was crucial to the composition in terms of colour and size. I also used a box underneath the sheet to add height to the smaller objects on the left.
1.4 Lesson - Automotive Photography
Brief:
You are required to take and edit a lifestyle automotive image.
Shoot lifestyle images of a car of your choice and design your first Instagram post.
Post your four best images and the final Instagram post.
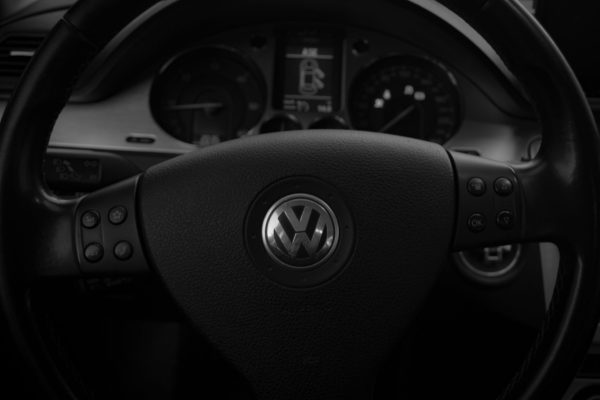
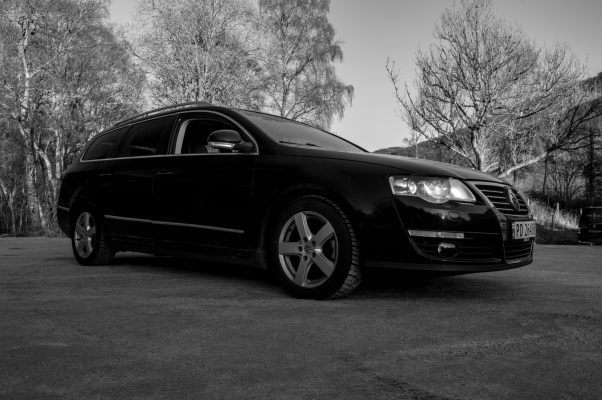
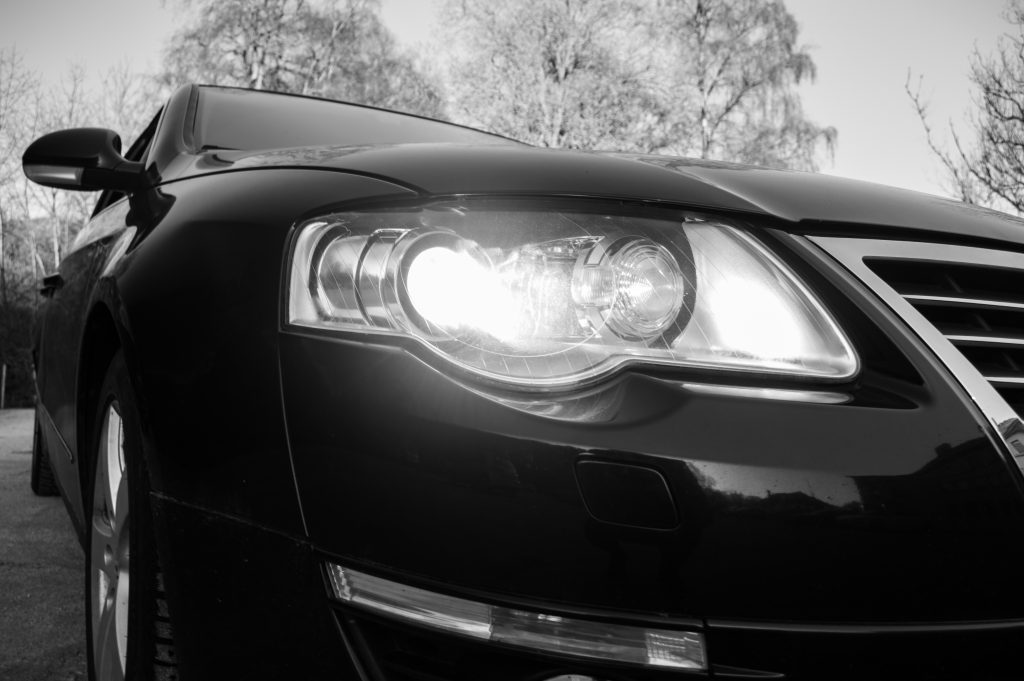
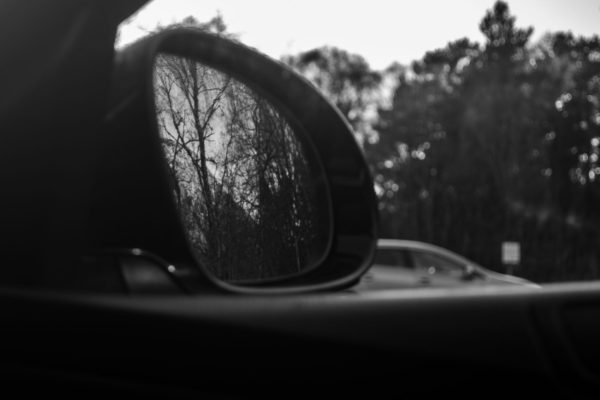
I struggled quite a bit with this task, especially as the sun decided to come out (luckily I had my CIR-PL filter handy). I also don’t really have any interest in cars, so it was a bit boring for me to shoot images of a car and getting a good angle was challenging. However I tried my best while the very patient driver/owner of the car waited for me to take some photos.
My Four Best Shots
Final Instagram Post
Camera Settings:
1/13 f/5 ISO 100 Manual

